
My Tropical Hibiscus Experiment: A Journey into Hybridization
It's surprisingly easy for anyone with some basic gardening ability to grow and cross tropical hibiscus to create new ones

A few years ago, I purchased two tropical hibiscus plants online specifically for the vibrant colors and unique patterns of their blooms. My goal was to cross these two plants to see if I could create new varieties, more as a fun experiment than anything else. When the plants arrived, they were small enough to fit on a plant shelf under a few shop lights I bought at a local hardware store. I was pleasantly surprised to find that despite being indoors under artificial lights, both plants bloomed beautifully.
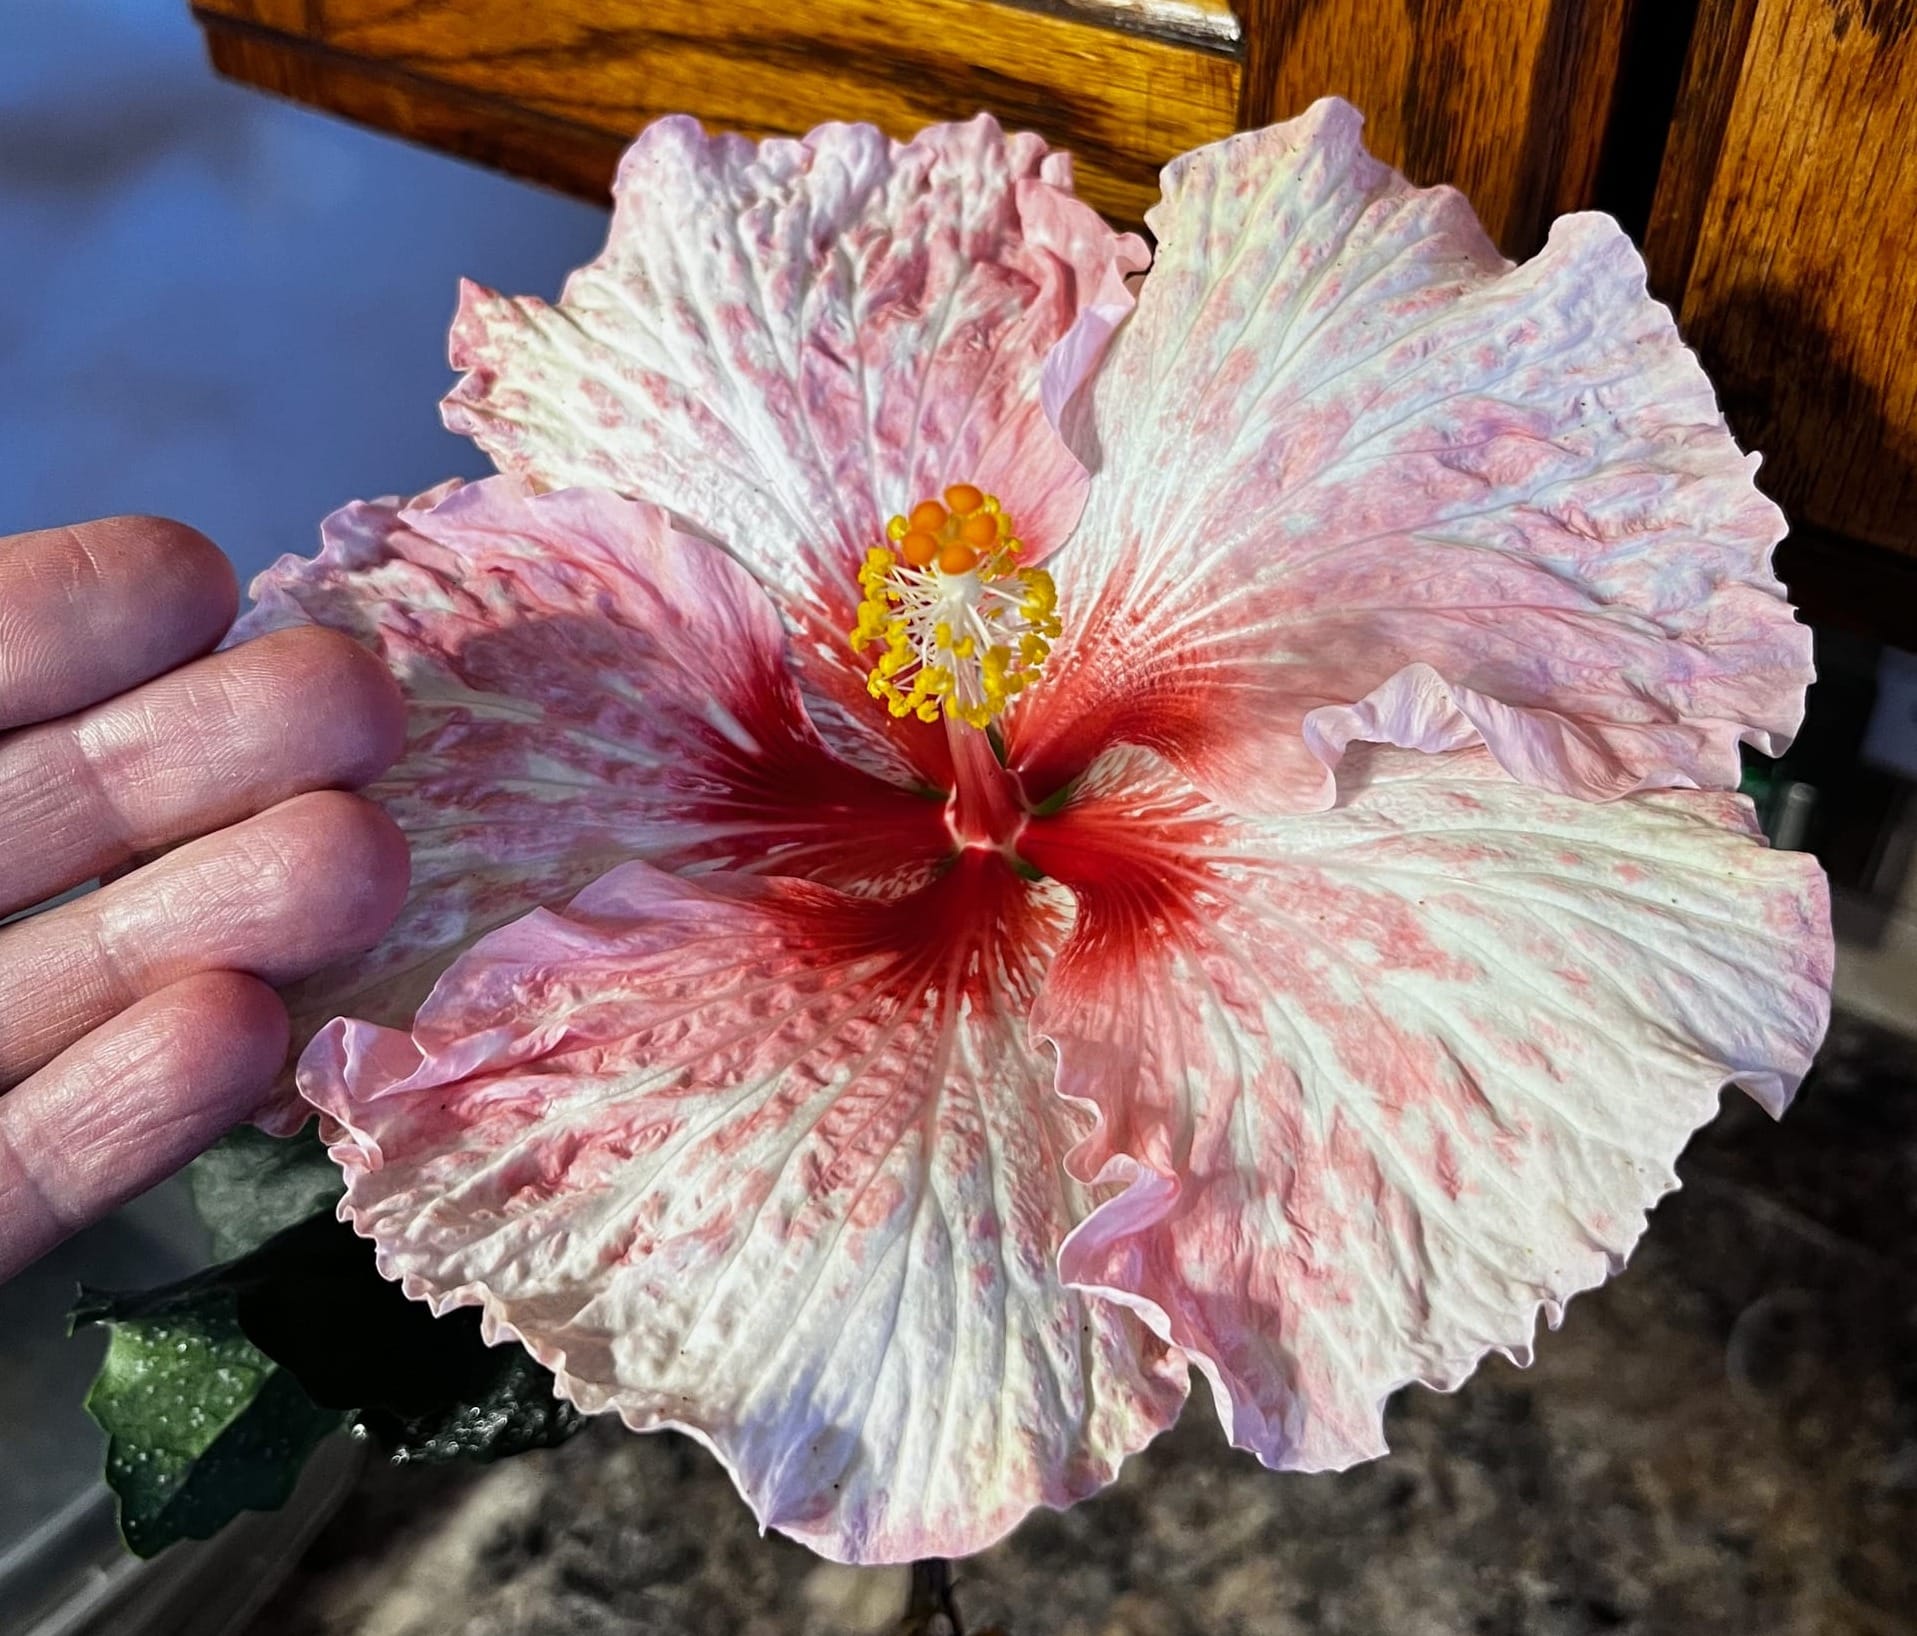
Some of these unique varieties of tropical hibiscus produce stunning flowers with intricate color combinations and patterns. (See the photos in this article.) The colors captured on my iPhone may not do justice to their true beauty, especially the Connie Roush variety. On the other hand, the Think Pink hibiscus caught my eye more for its pattern than its actual colors.
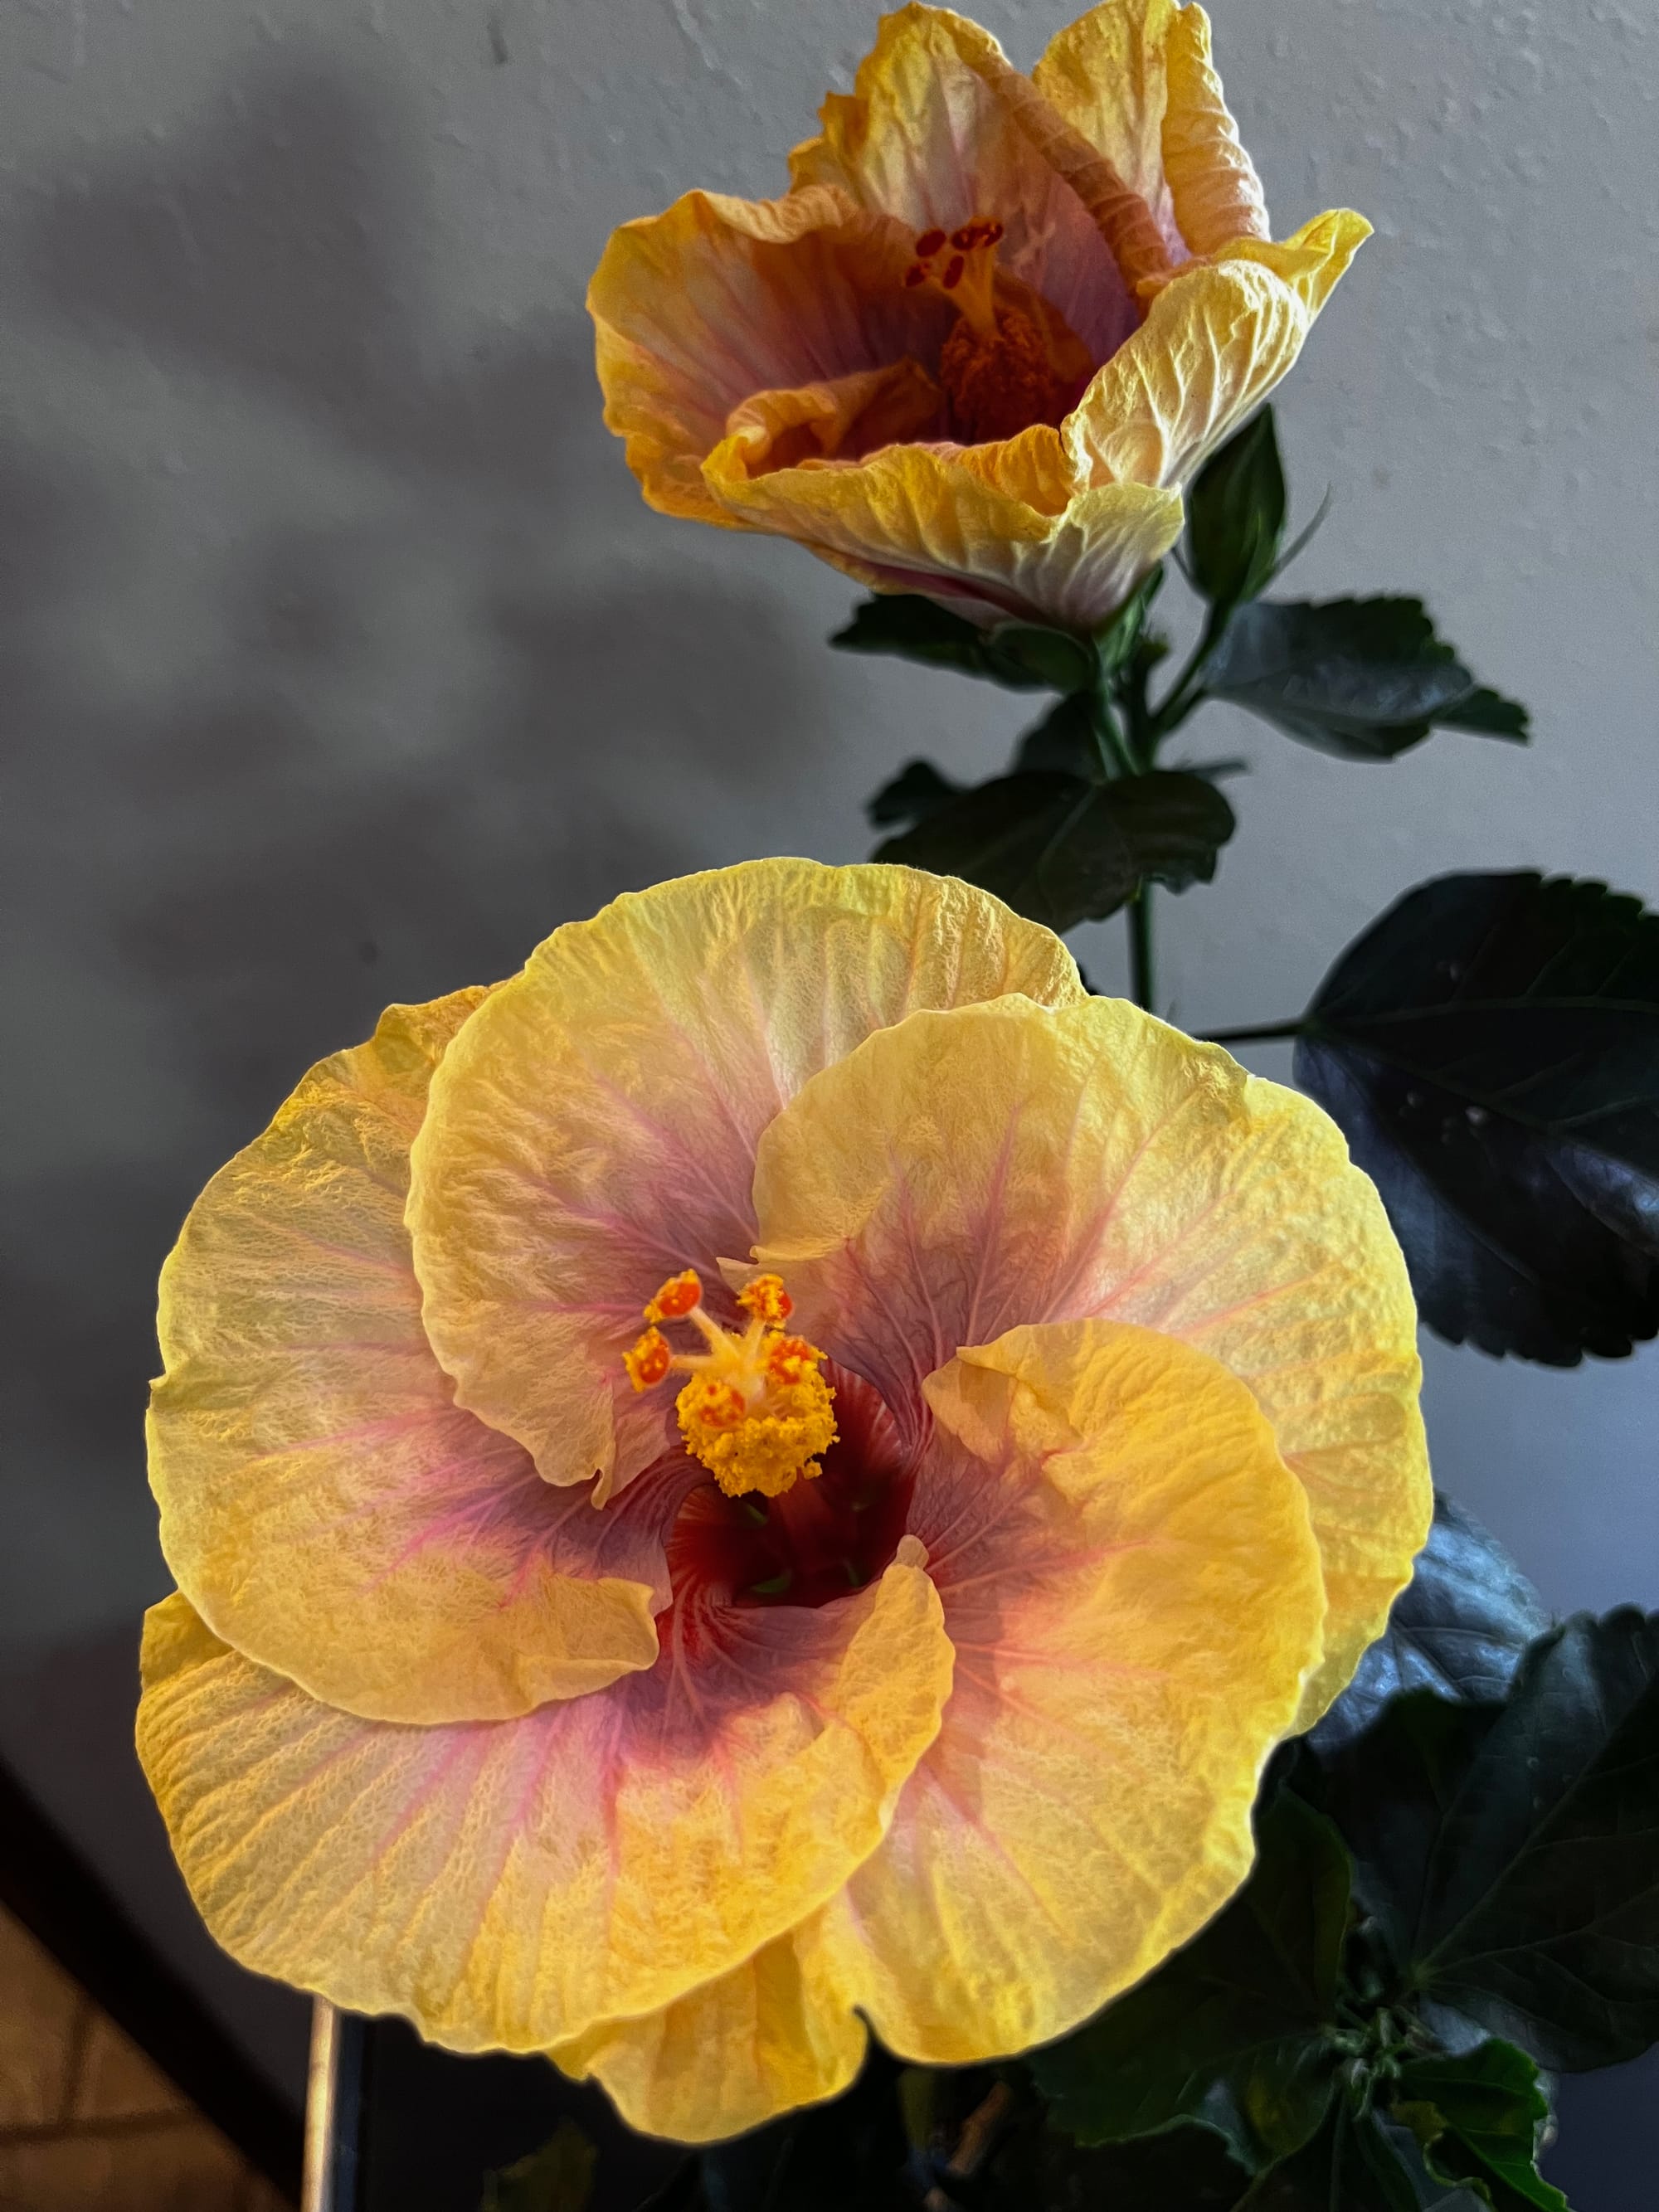
Hibiscus flowers are truly a sight to behold in person. They are a step above the common yellow and red "hardy" hibiscus found at local garden centers, mainly due to their expansive color palette. However, their beauty is fleeting, as each bloom typically lasts only a day. Often, I would watch a bud slowly develop over several days, only to be completely amazed by its sudden bloom the next day.
One of the biggest challenges in crossbreeding flowers to create new varieties is synchronizing the bloom times of the two flowers you want to cross. If they don't bloom simultaneously, you either have to self-pollinate or freeze and store the pollen. I used a combination of self-pollination and cross-pollination when the two varieties bloomed at once. Many times, when I self-pollinated, the flower would close, shrivel up, and fall off with a piece of stem attached, almost as if someone had snipped it with scissors.
My process was straightforward. Using a Q-tip, I dabbed off some pollen and applied it to the stigma. A percentage of these pollinated flowers would "take," resulting in a seed pod. Once the pod developed and dried out, I harvested the seeds.
I didn't follow a strict method for pollination, such as doing it at a specific time each day. I simply moved pollen to the stigma once the blooms were open. The only labeling I did was to note which flower I used as the seed parent. I only had two varieties, so I wasn't likely to get confused. There wasn't a set time for harvesting the seeds; I did so once the pods were dry and seemed to have stopped developing.
After removing the seeds from the pods, I stored them in a glassine packet. About a year later, I attempted to germinate them, unsure if they were even viable. This was my first time trying something like this, and in the meantime, I had moved and left the parent plants long behind. I wanted to bring back some new hibiscus plants, hopefully as beautiful as the originals.
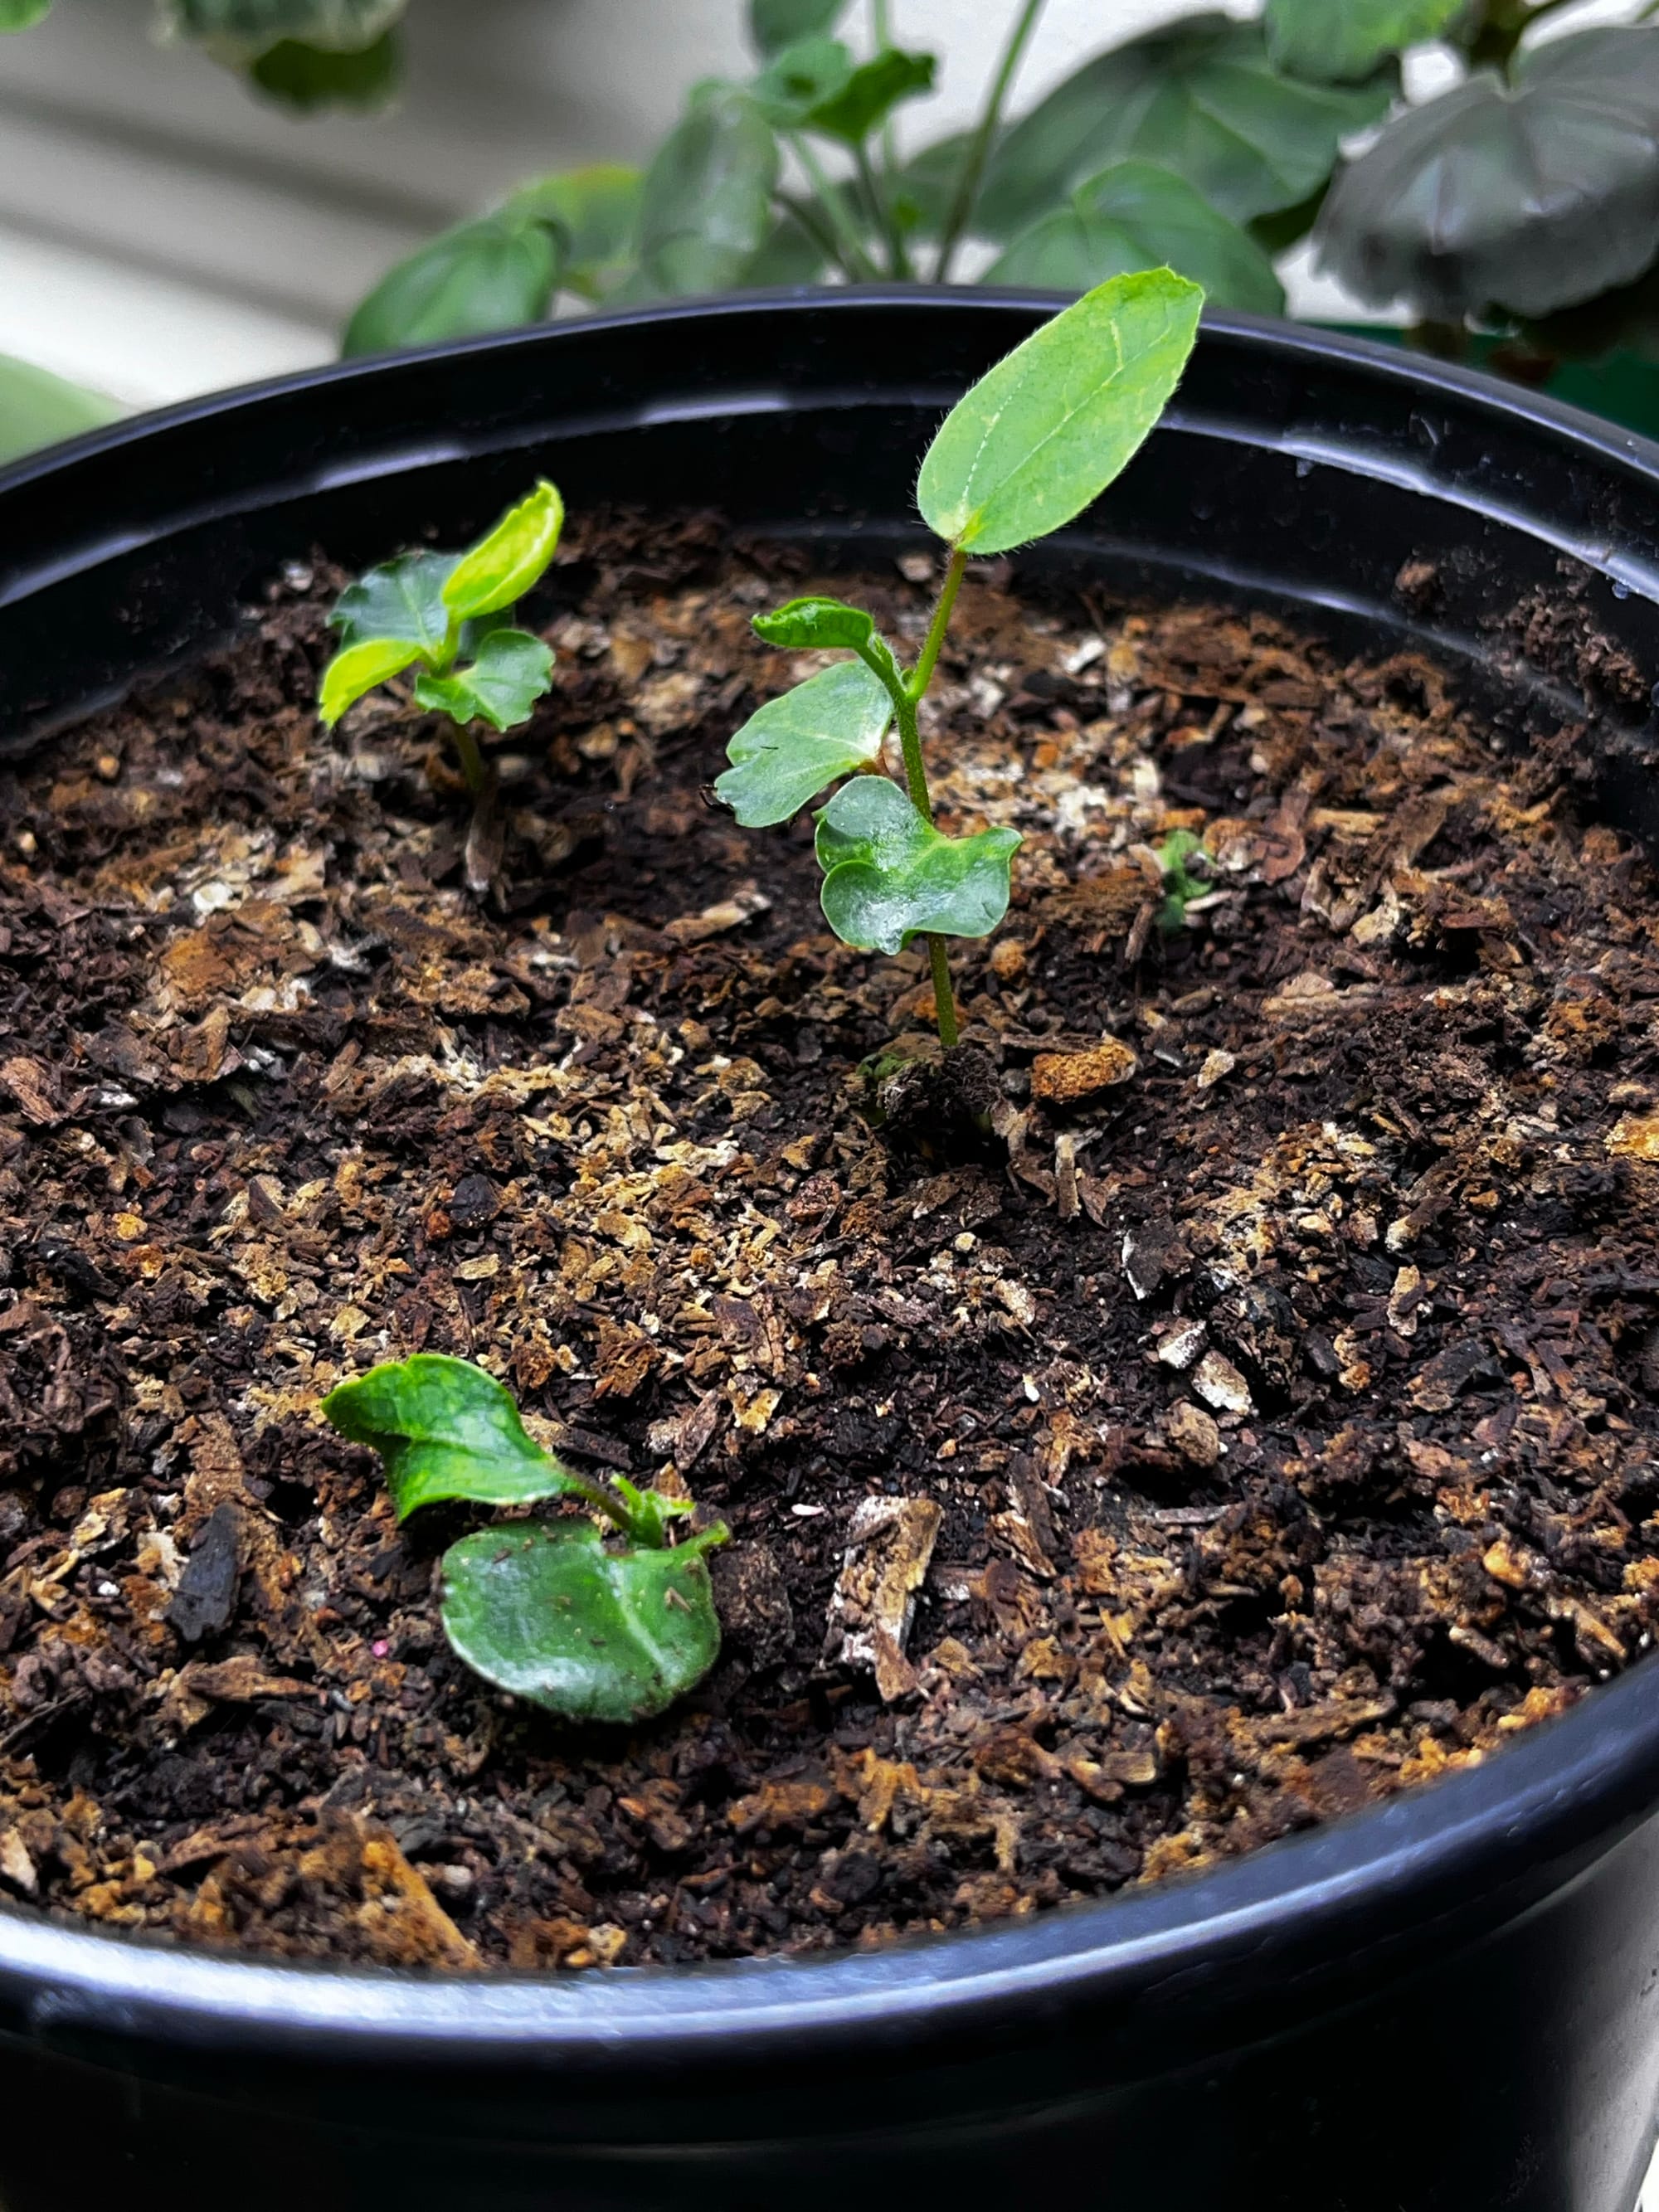
To germinate the seeds, I placed them inside a moist paper towel (not soaking wet) and put the paper towel inside a slightly open baggie. Within a couple of days, many seeds began to germinate, so I transferred the sprouted seeds to pots with standard potting soil. You can see a photo of the seedlings in this article.
I will, of course, follow up on this story once the seedlings bloom. I'm sure others will be as interested as I am in discovering the new color combinations from crossing these plants. Hopefully, I'll get some interesting adult plants to continue crossing from there.
© Copyright Terry Aley
The Aley Acres seed shop on Etsy.
Dahlias, Notes from a Gardener book on Amazon.
Floral Art and Landscape Painting Etsy shop.
TikTok, some gardening posts.