
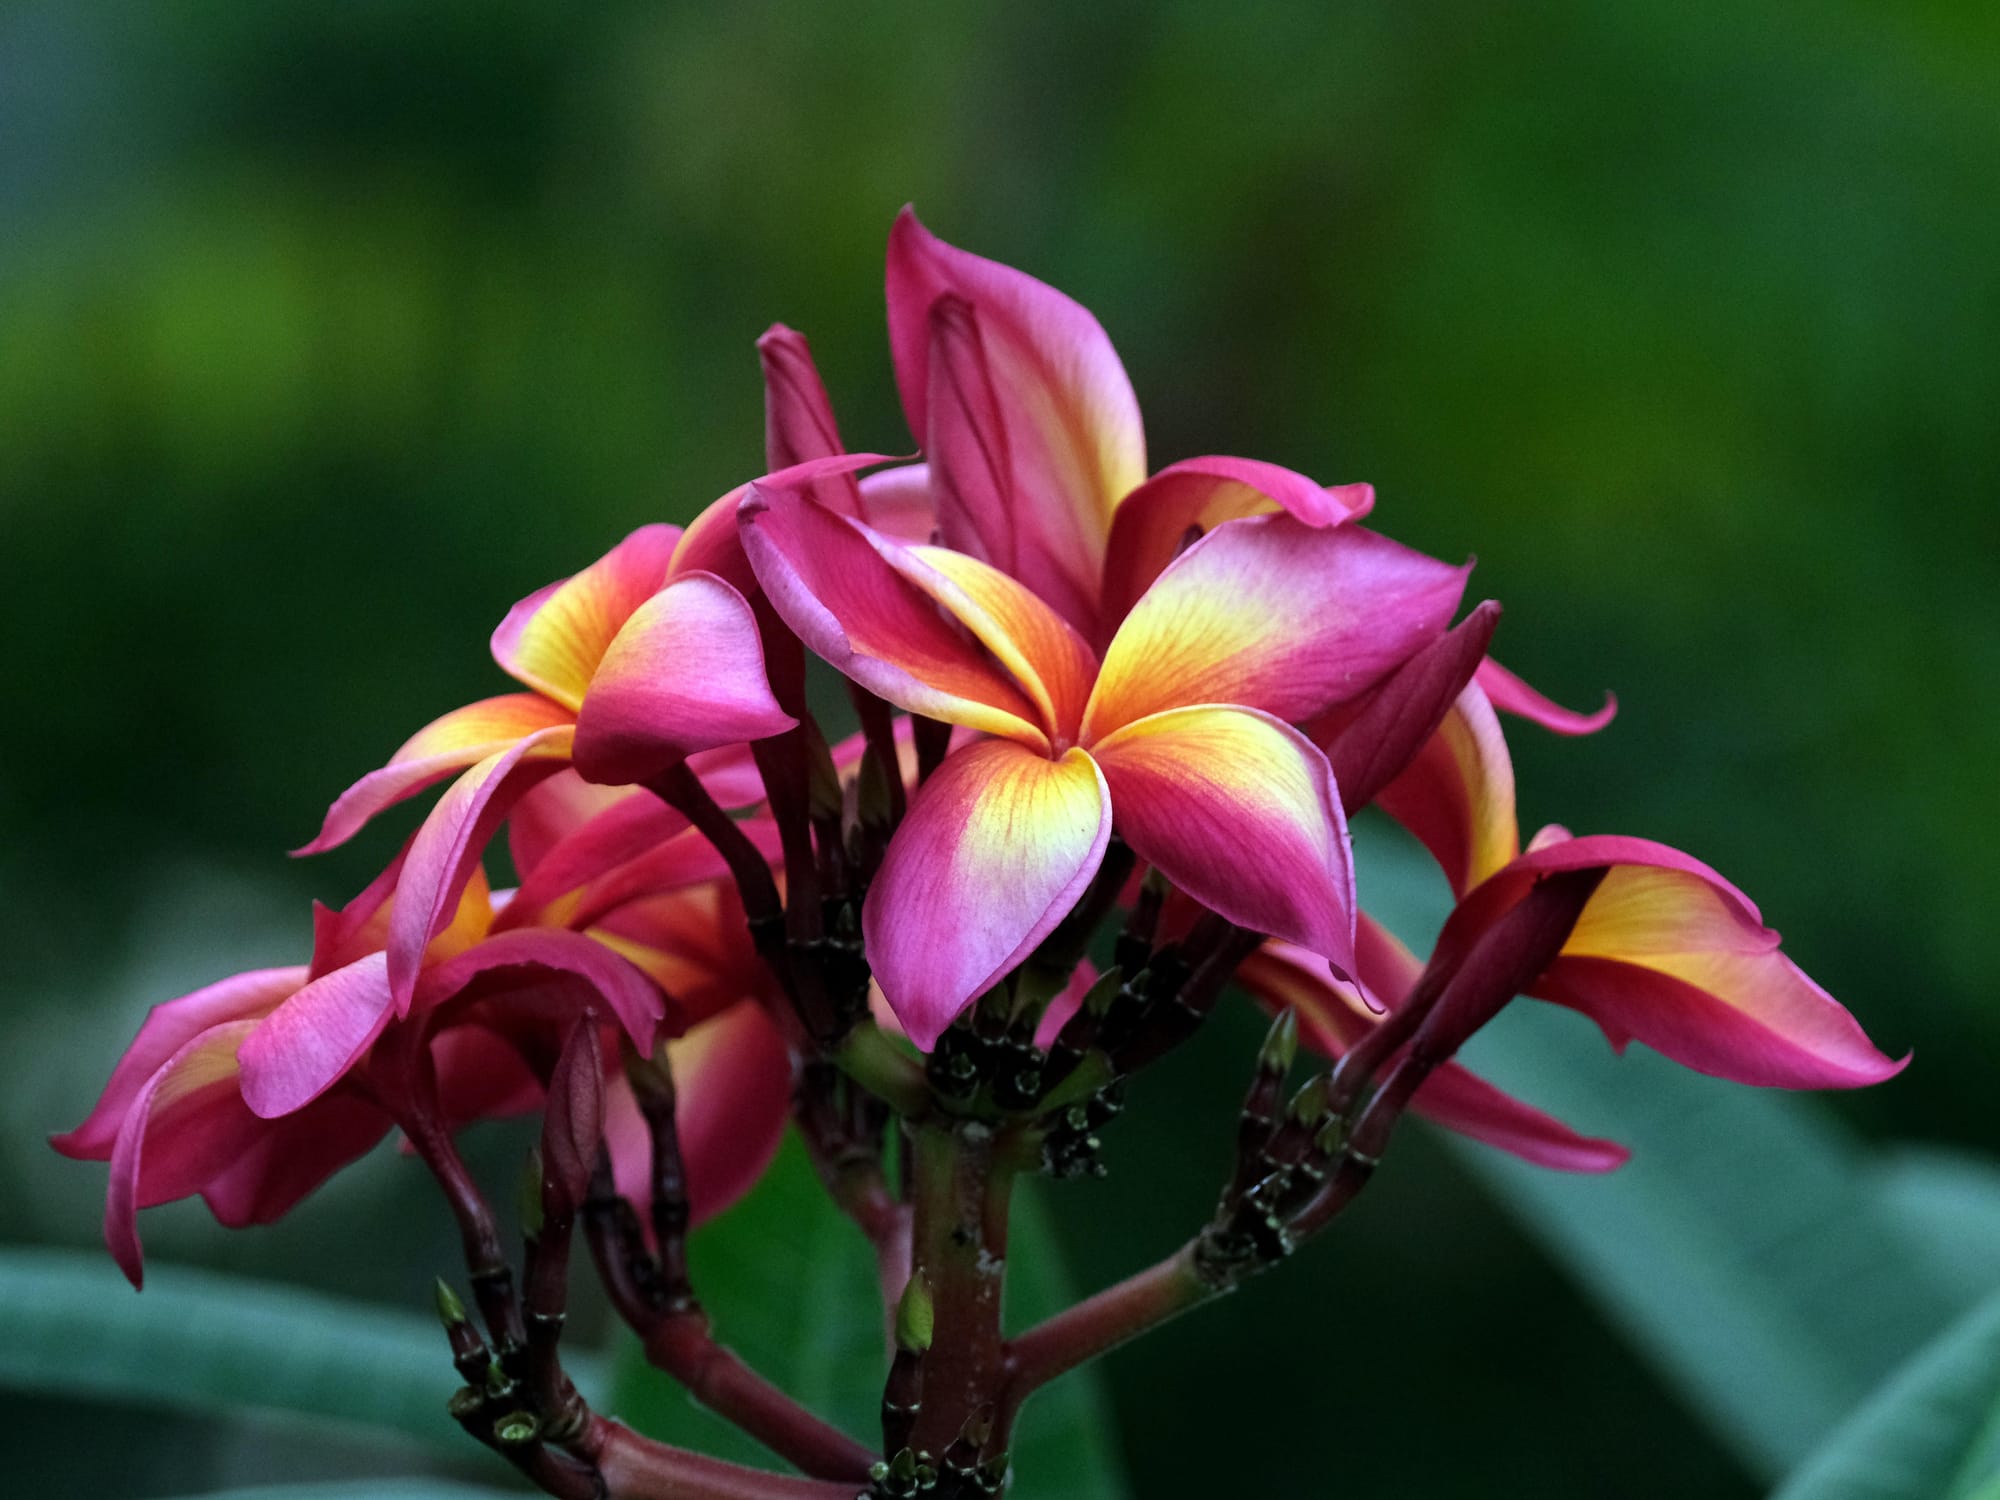
Plumeria (Frangipani): The Tropics in a Twig - Growing From Seeds and Cultivating Your Own Exotic Beauties
Bring a fragrant touch of the tropics to your own home garden with Plumeria

Plumeria is a fascinating plant, especially if you're new to it. You can start your own from a stick purchased online, or from actual plants and seeds. Planting seeds will yield a unique variety that's all your own. And I love a one-of-a-kind plant. Numerous online shops, including eBay and Etsy, sell plumeria, but ensure the seller is reputable to avoid poor-quality or misidentified plants.
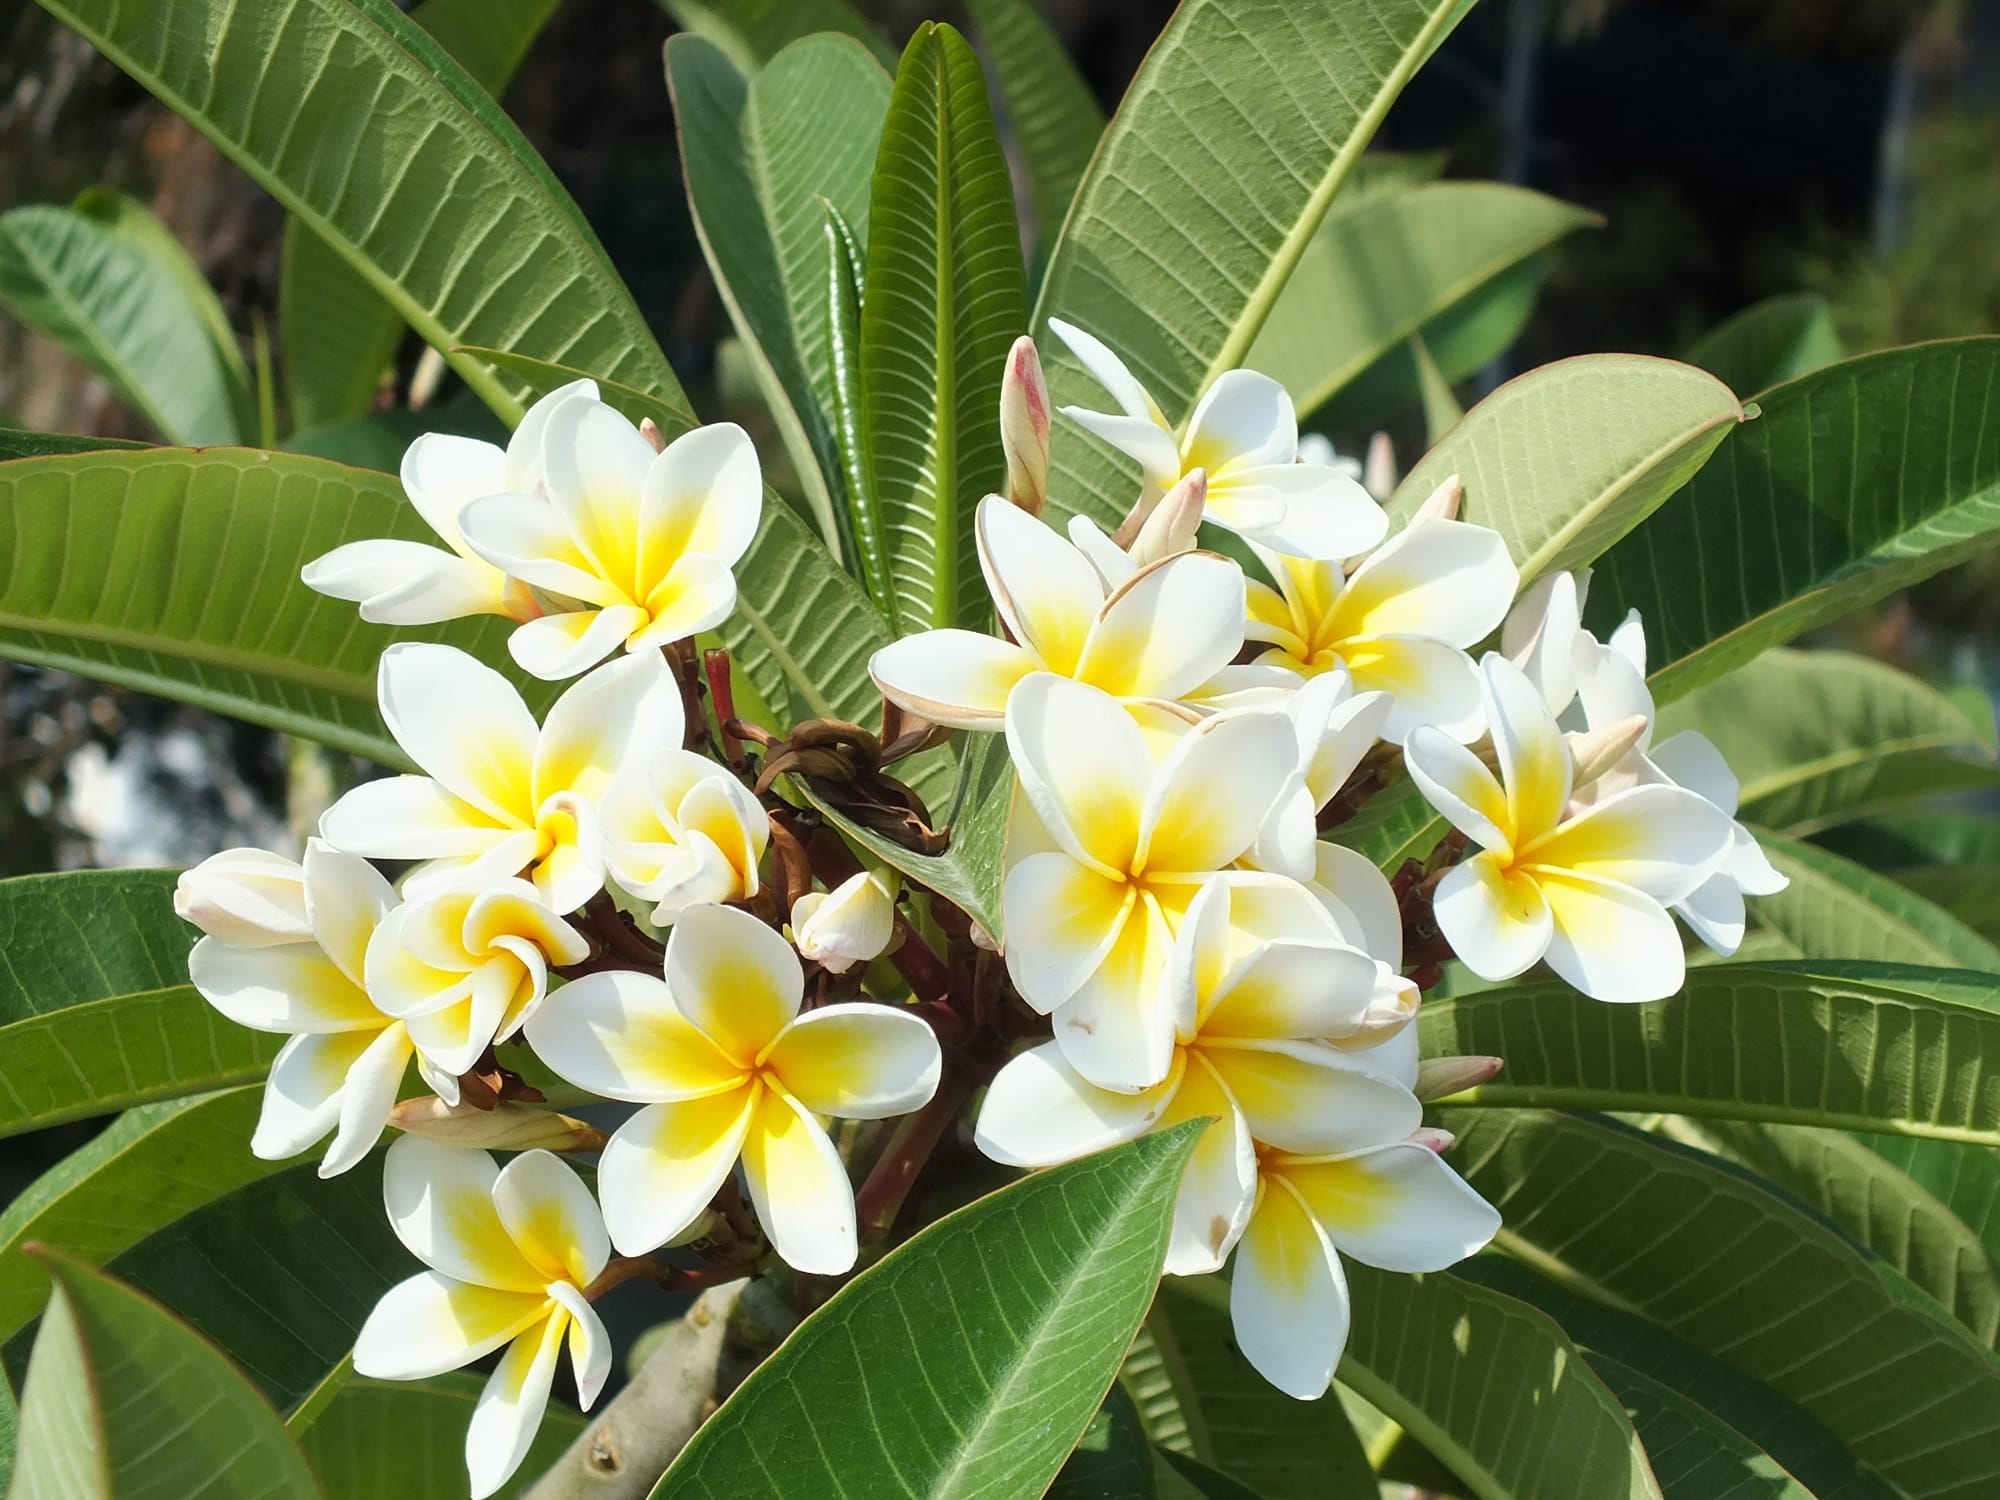
If you're American, you might recognize Plumeria as the flowers on lei that you can receive when landing in Hawaii. Though I'm sure this is now only done for a fee for tourists. They were popularized on the television show Fantasy Island in the late 1970s and early 1980s for arriving visitors. I feel like I even remember the plumeria "sticks" (cuttings) being far more widely available in the past to start your own plumeria plant. I haven't seen those as much lately, but it's possible I'm being more distracted by other types of plants these days.
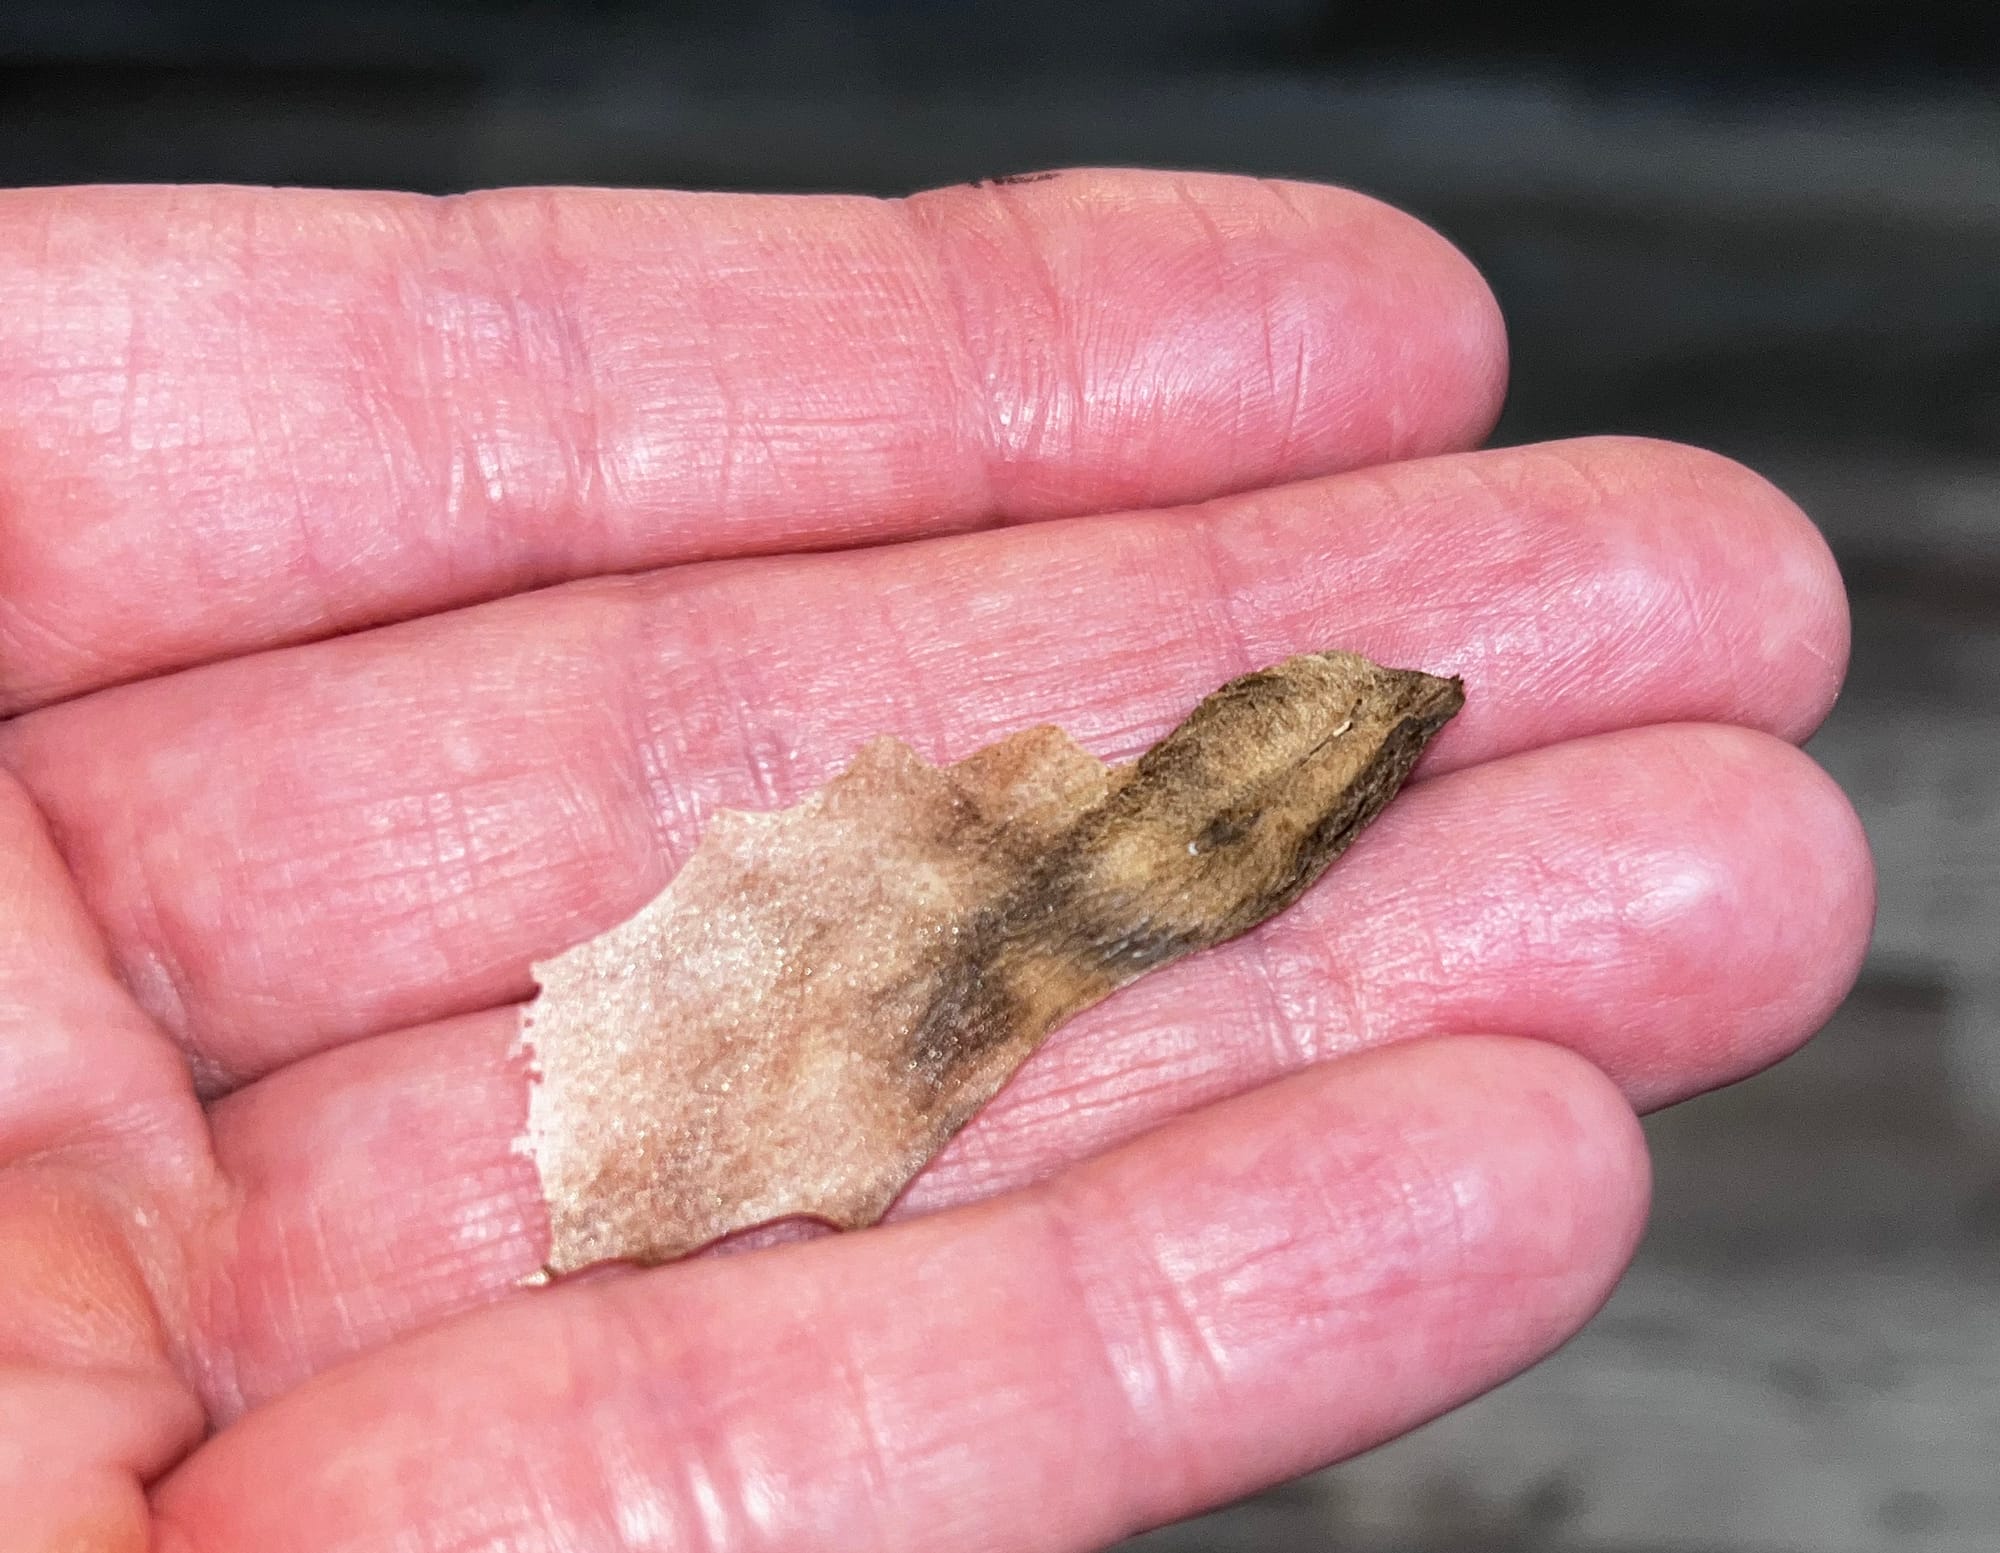
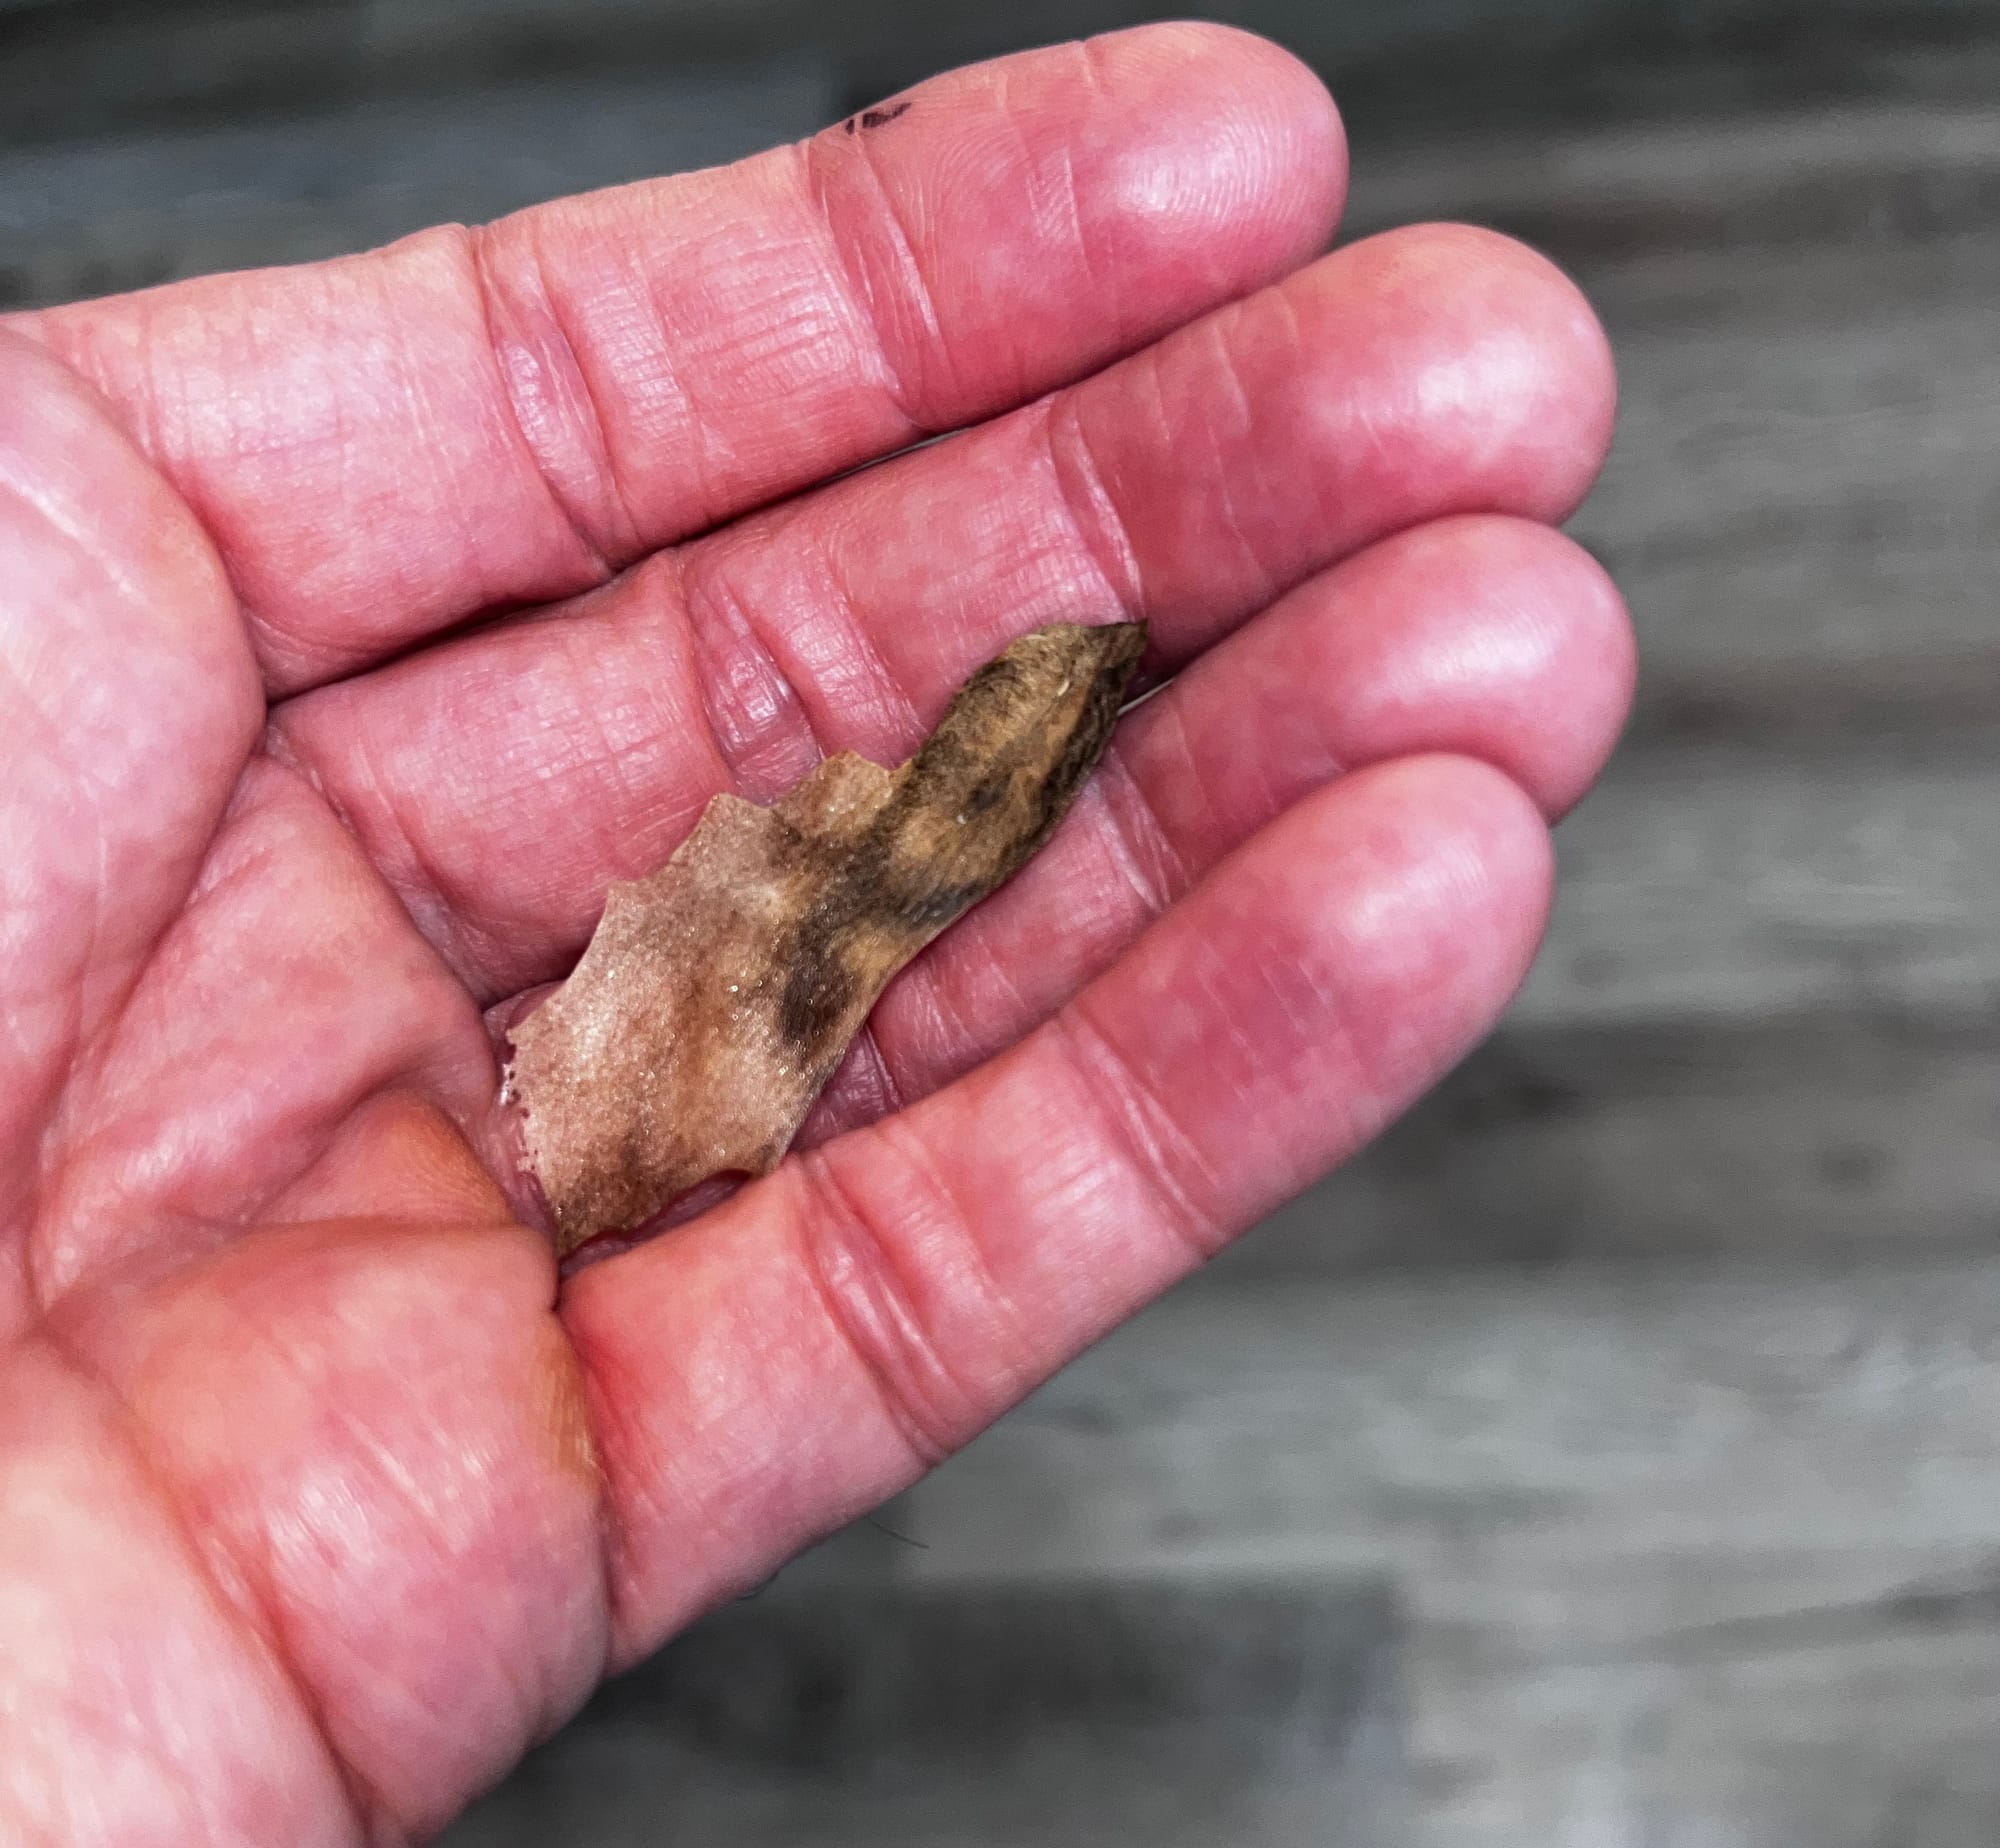
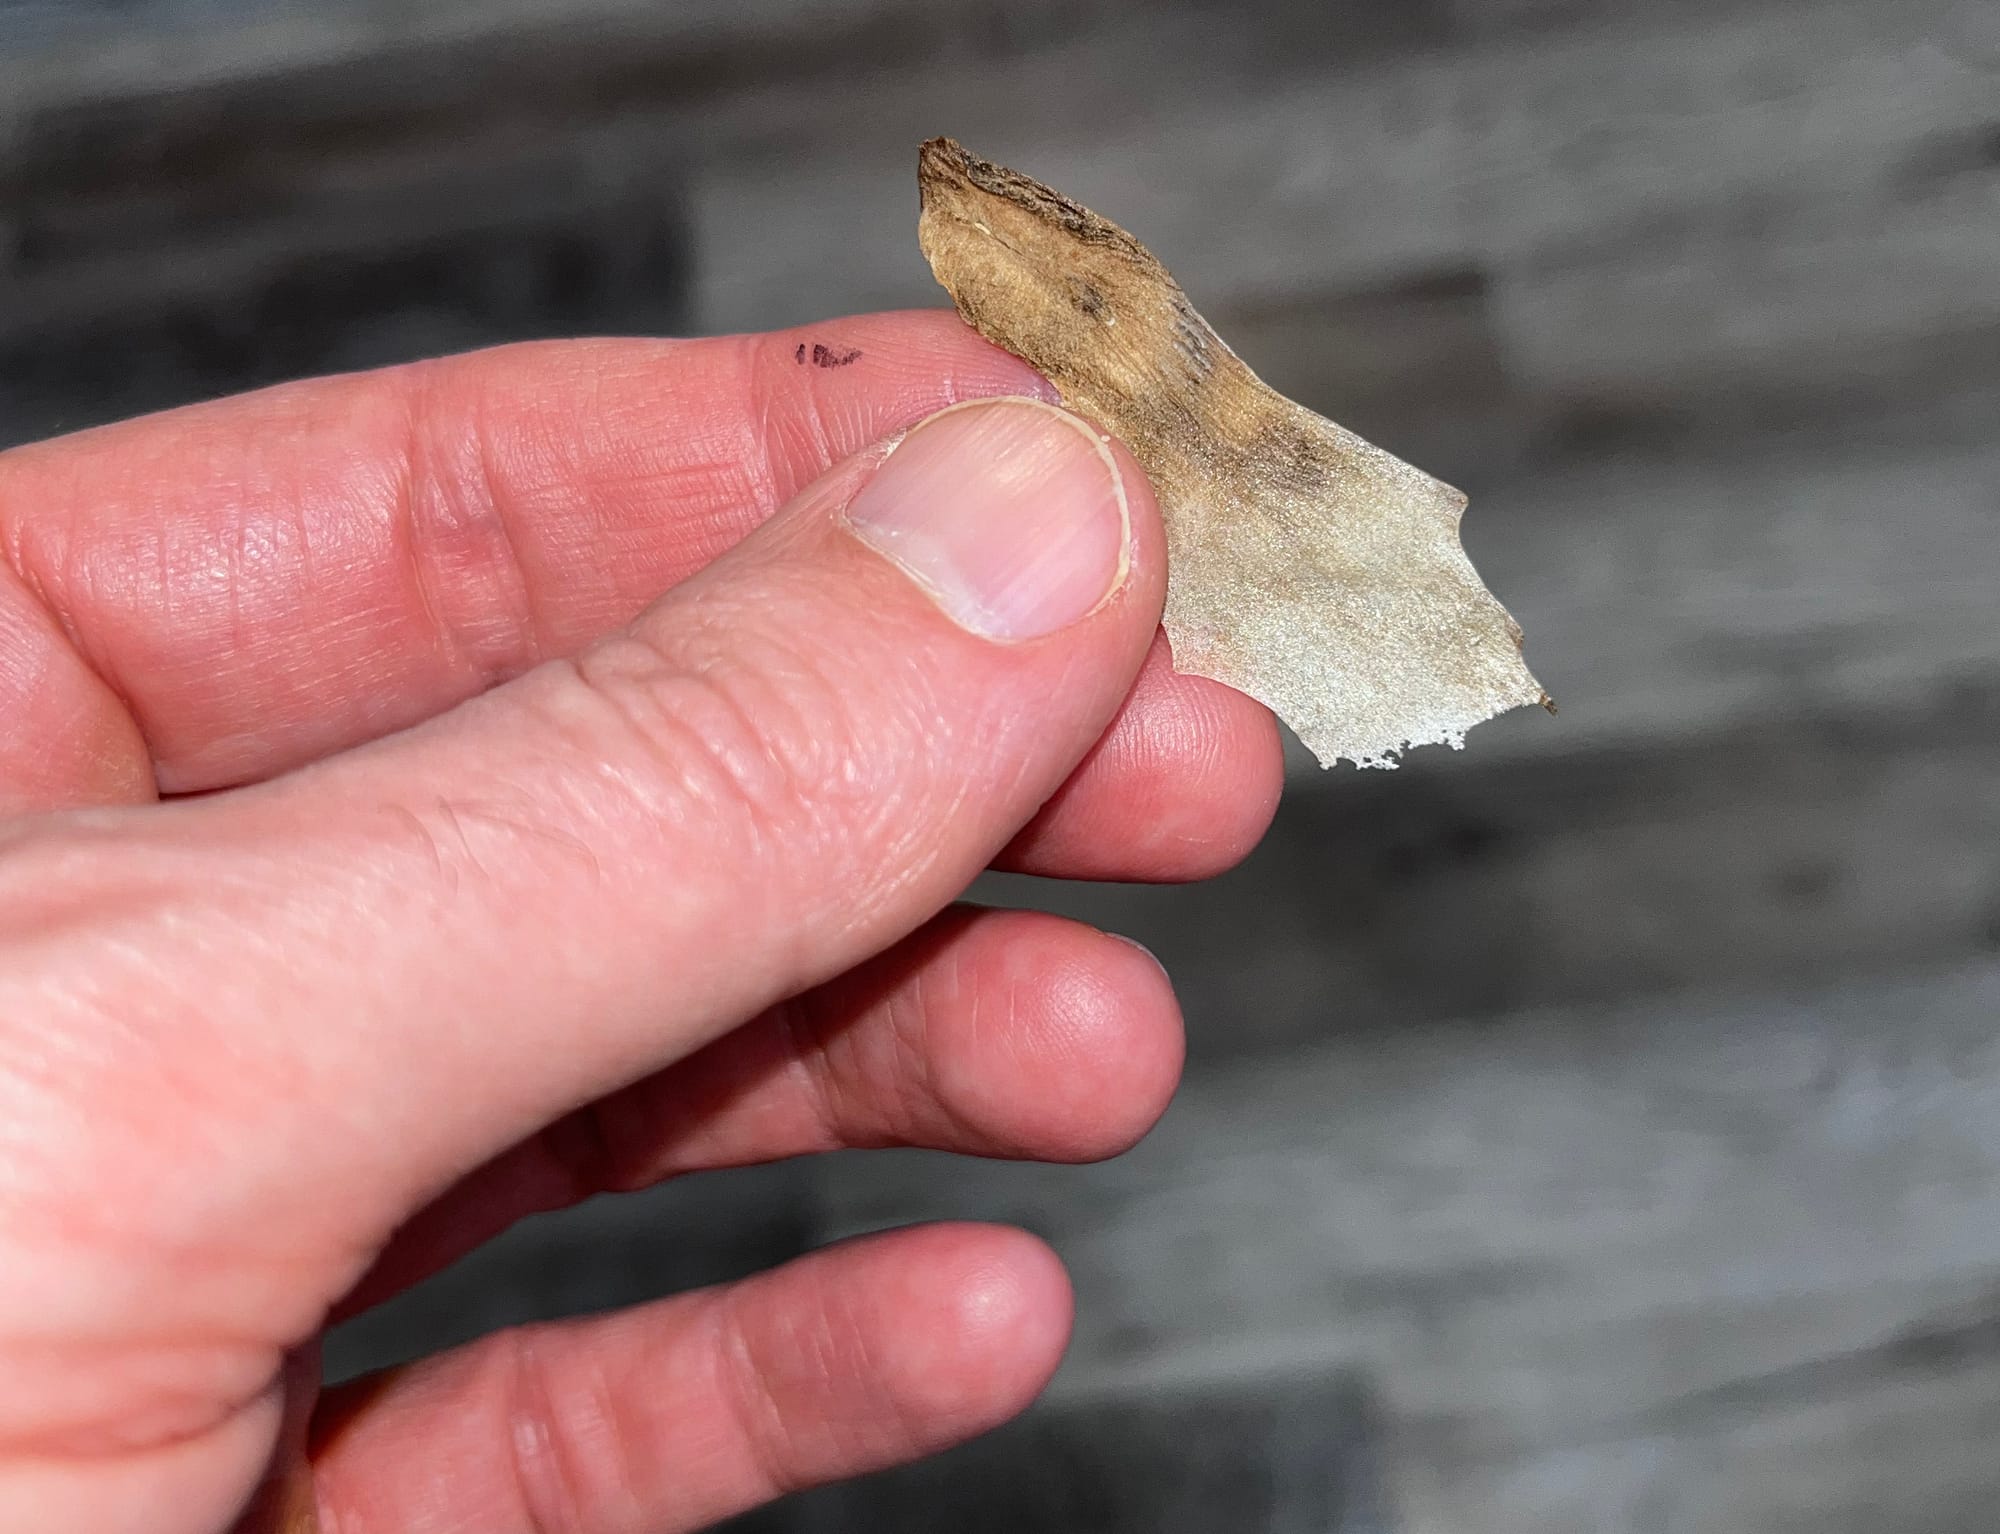
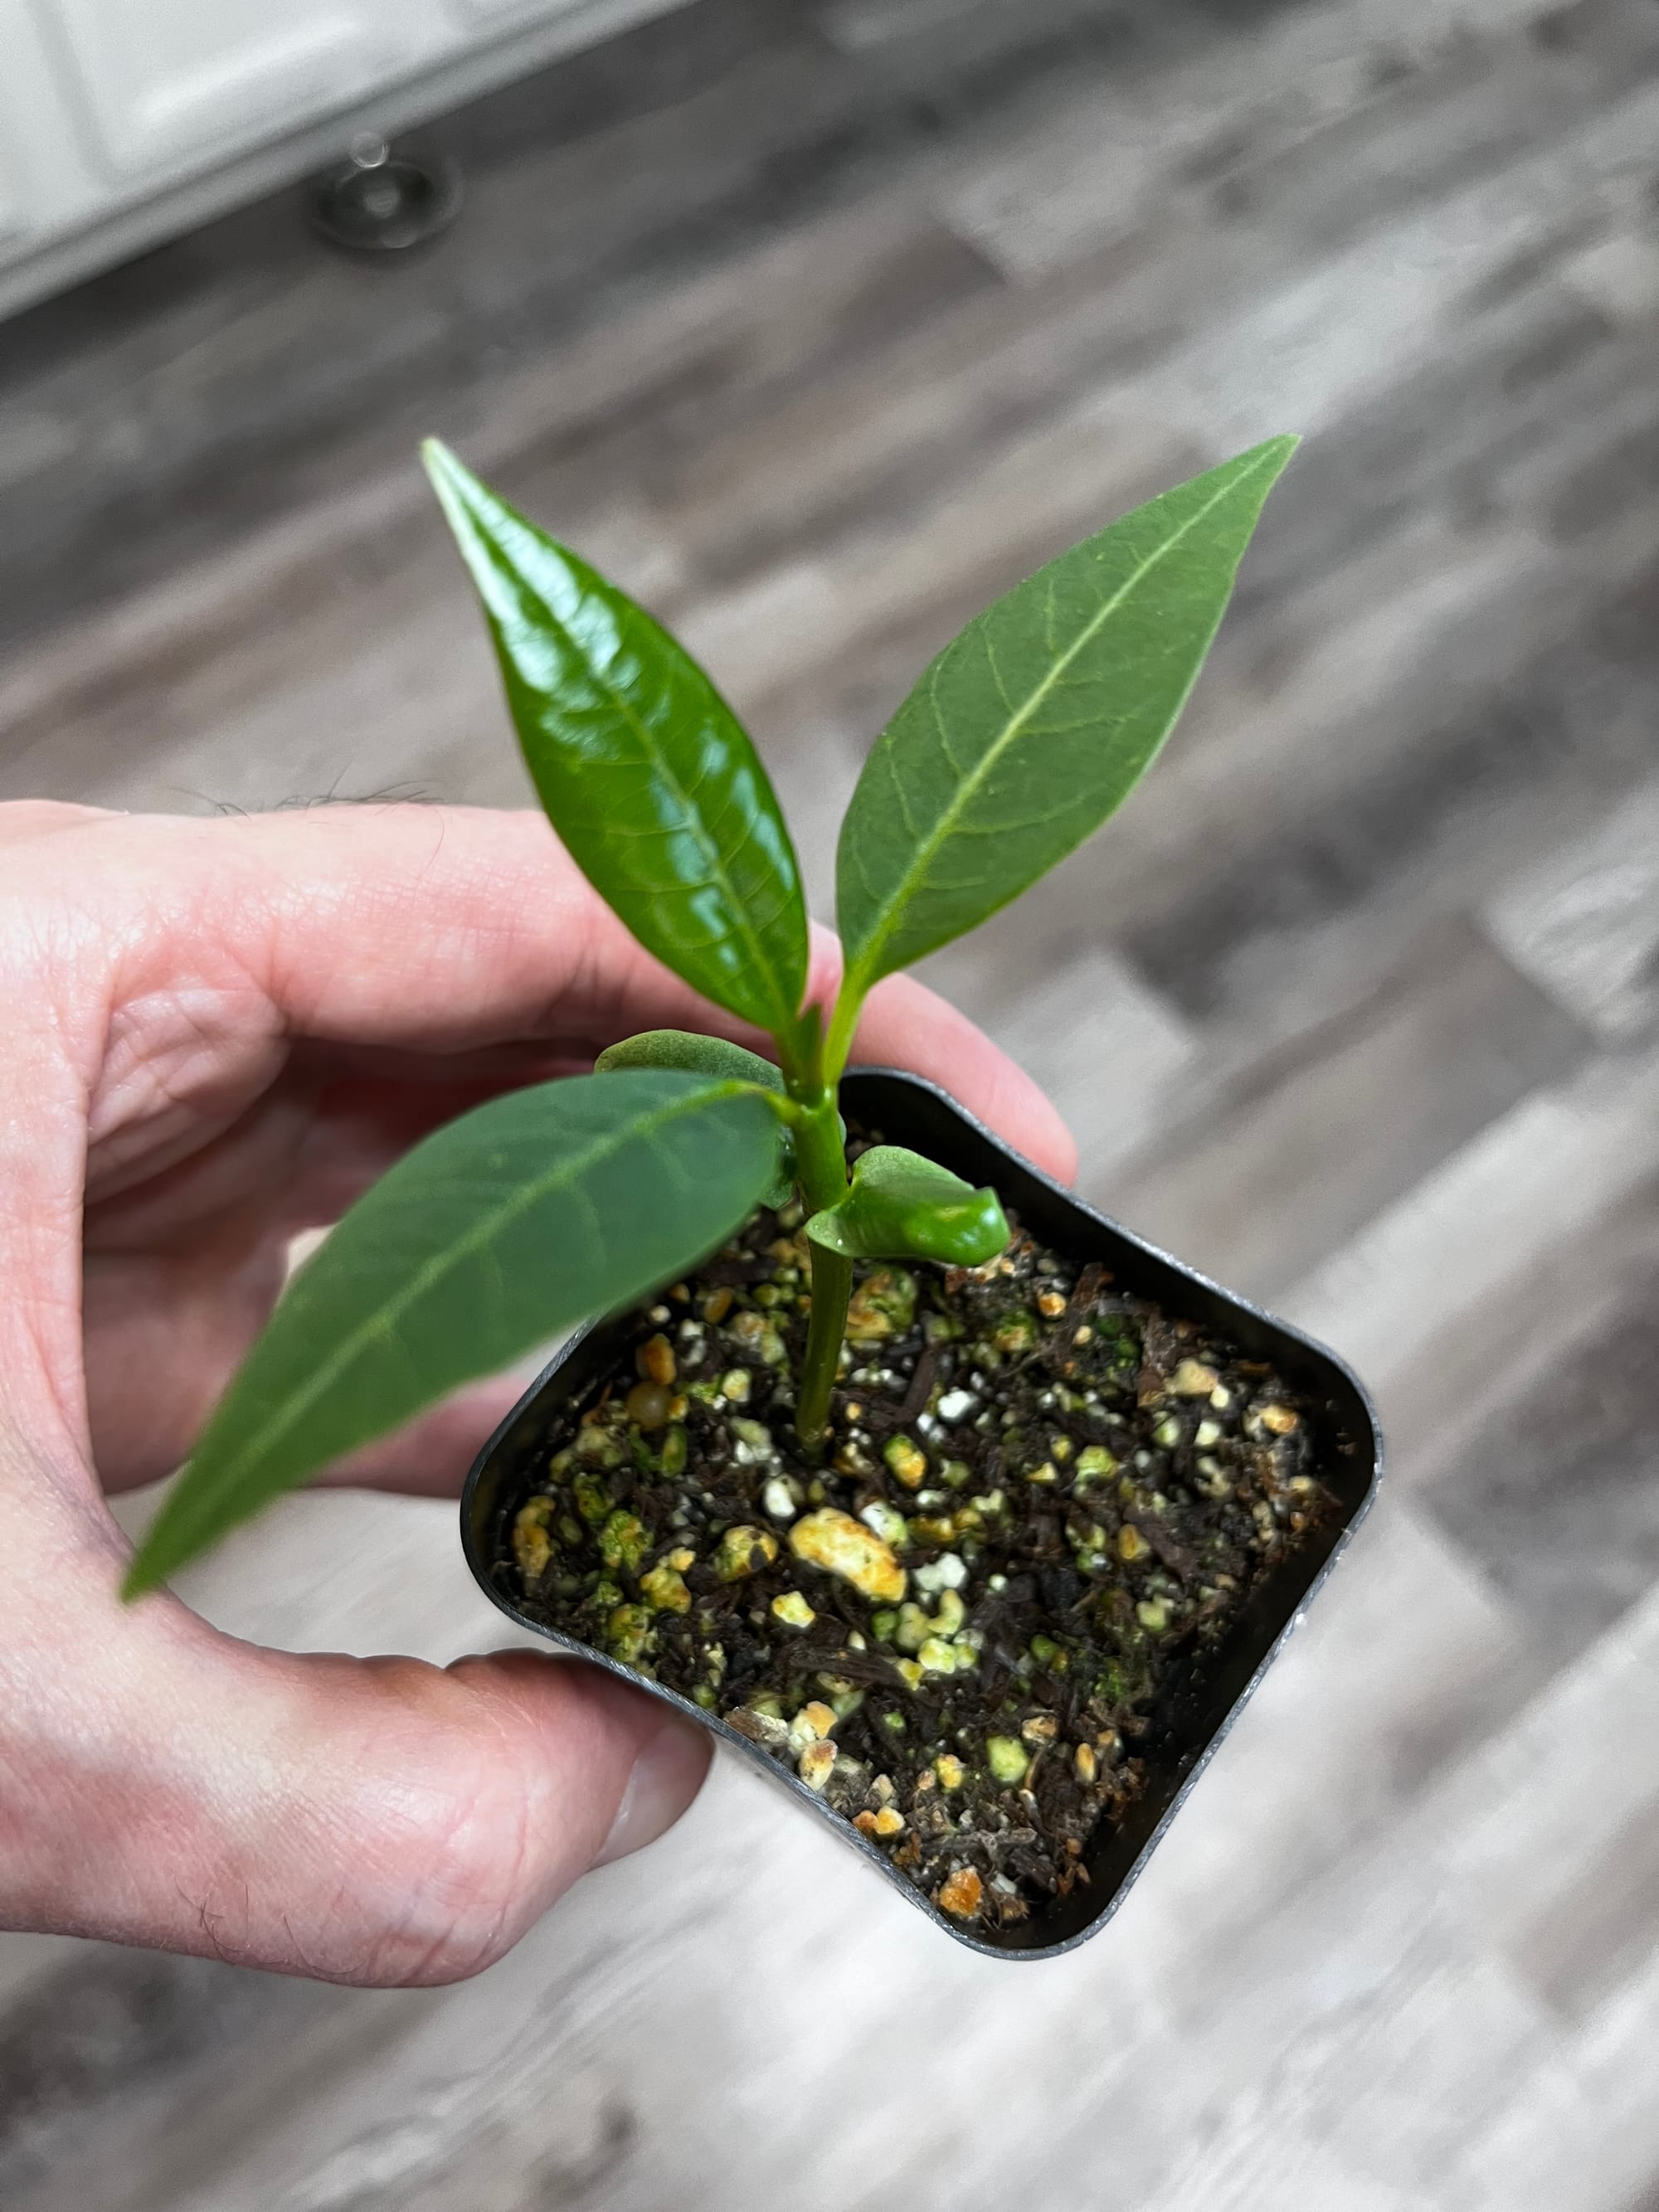
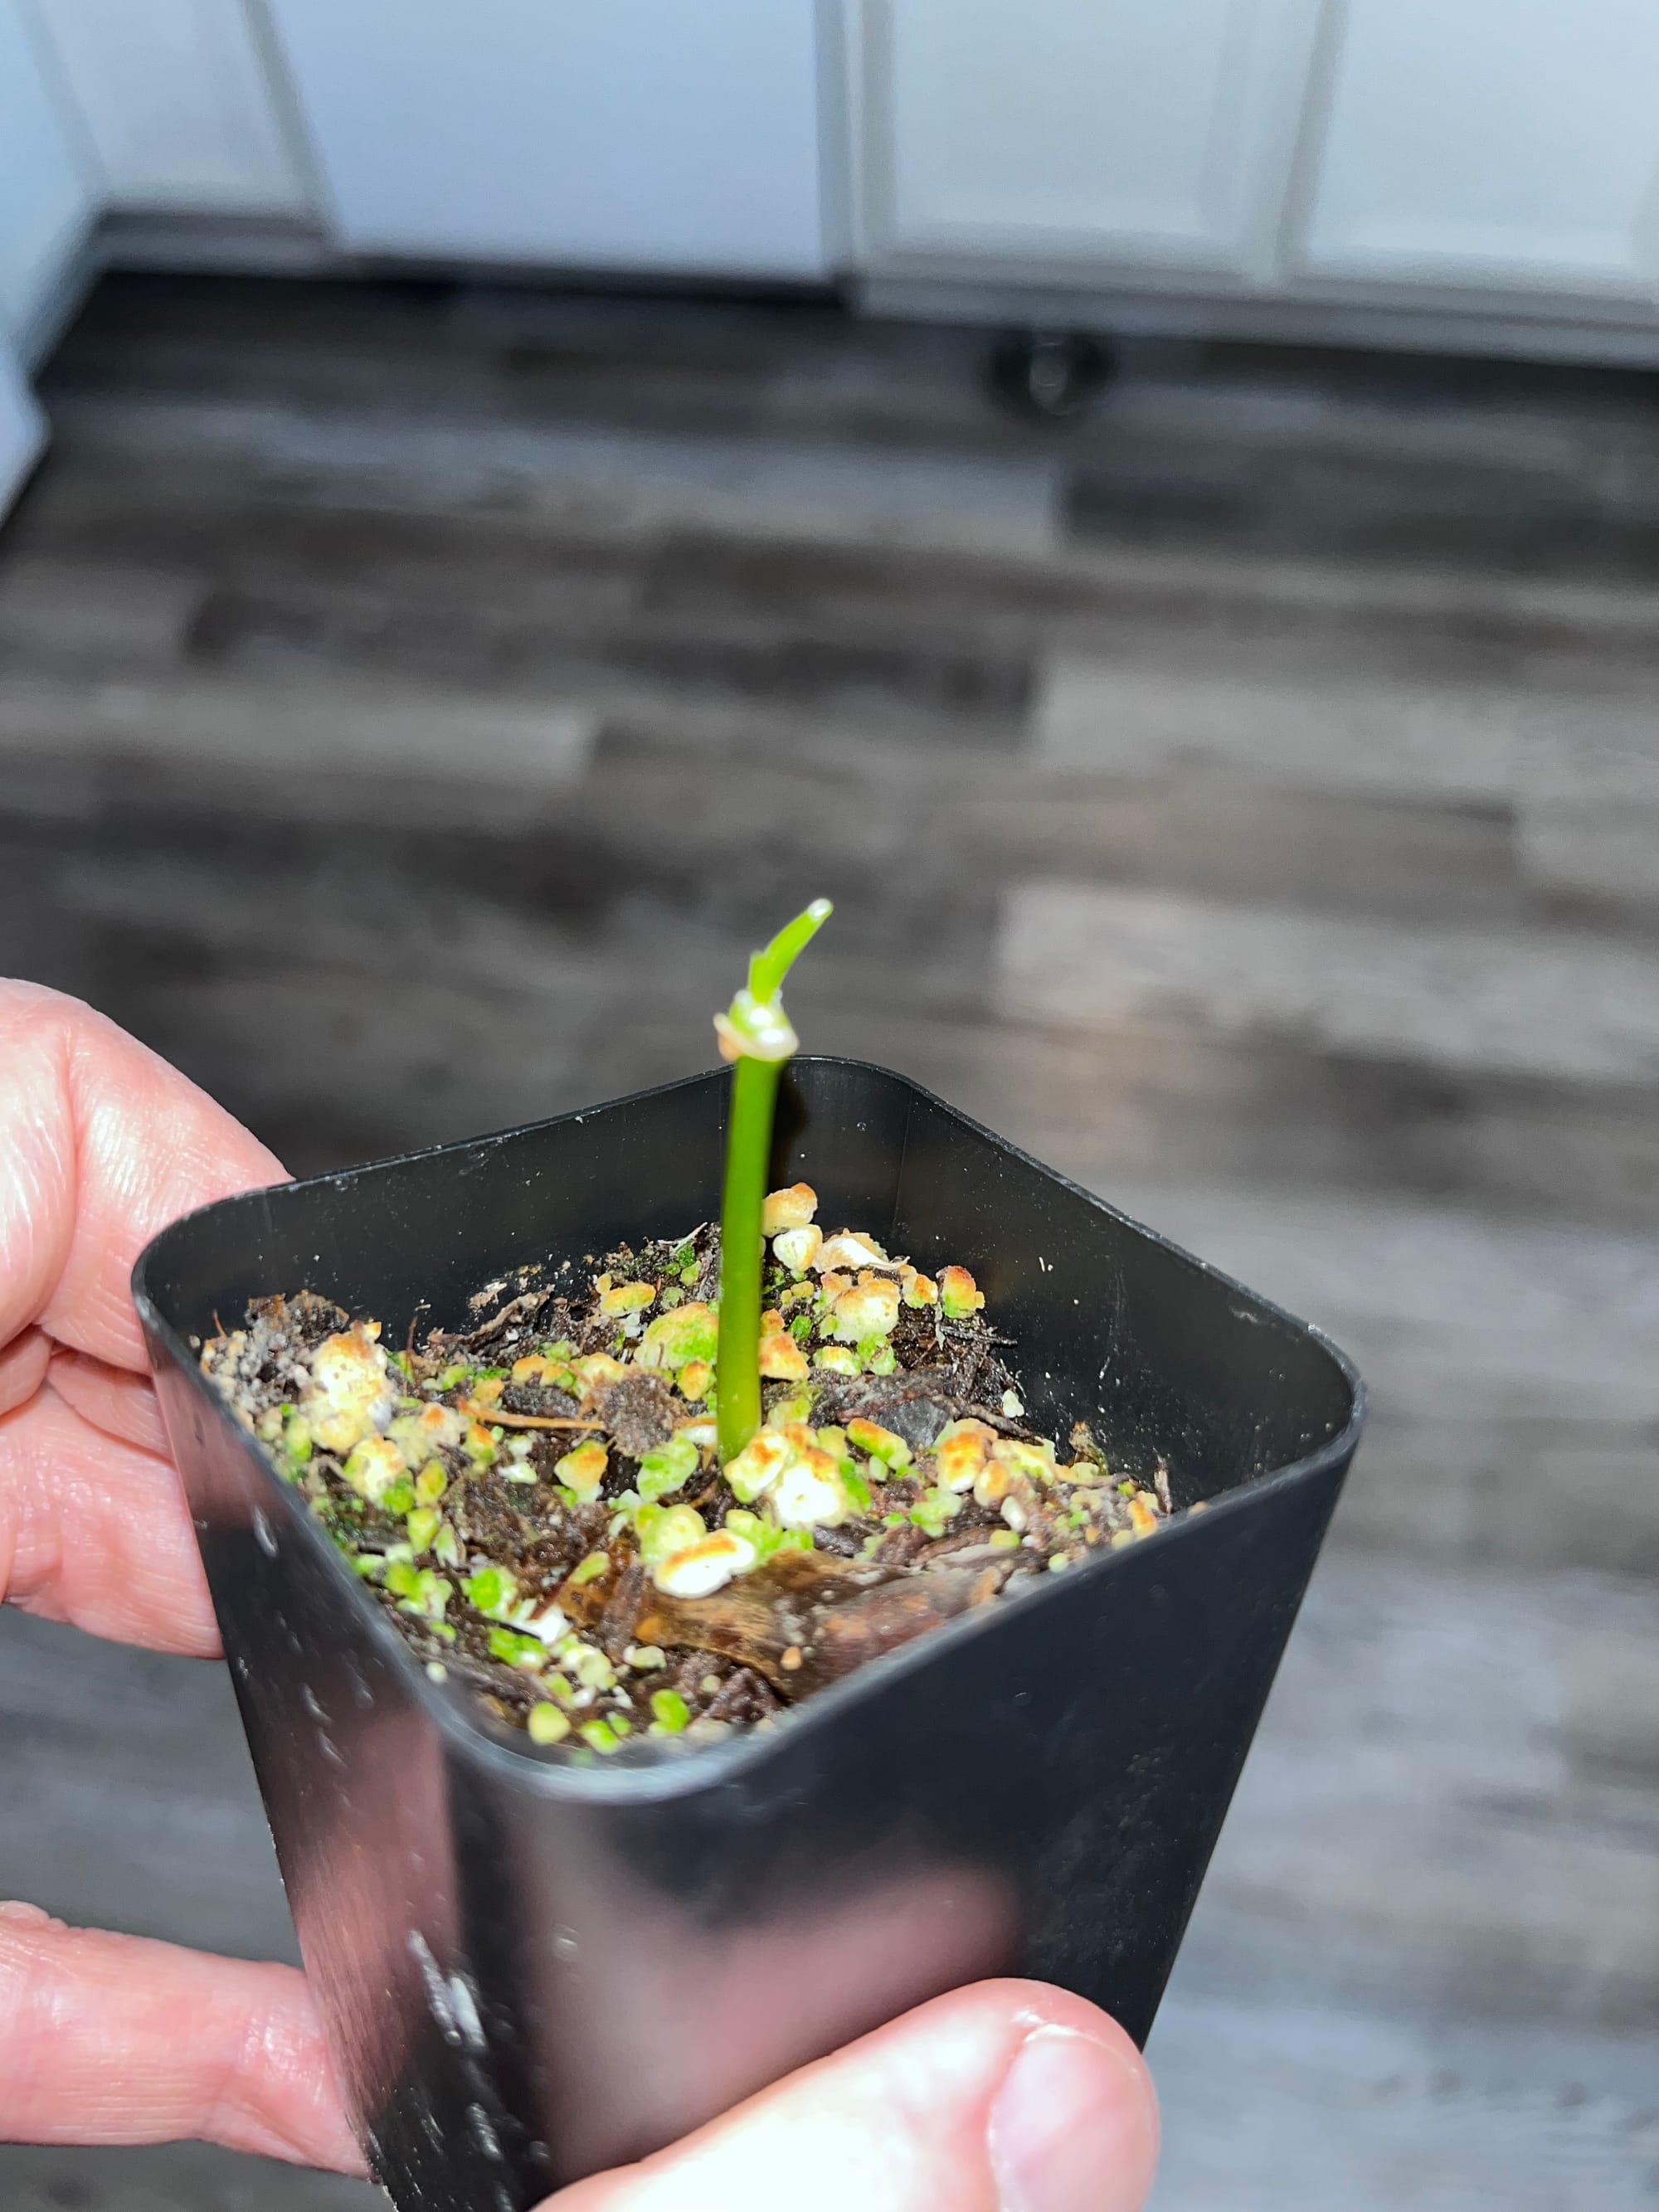
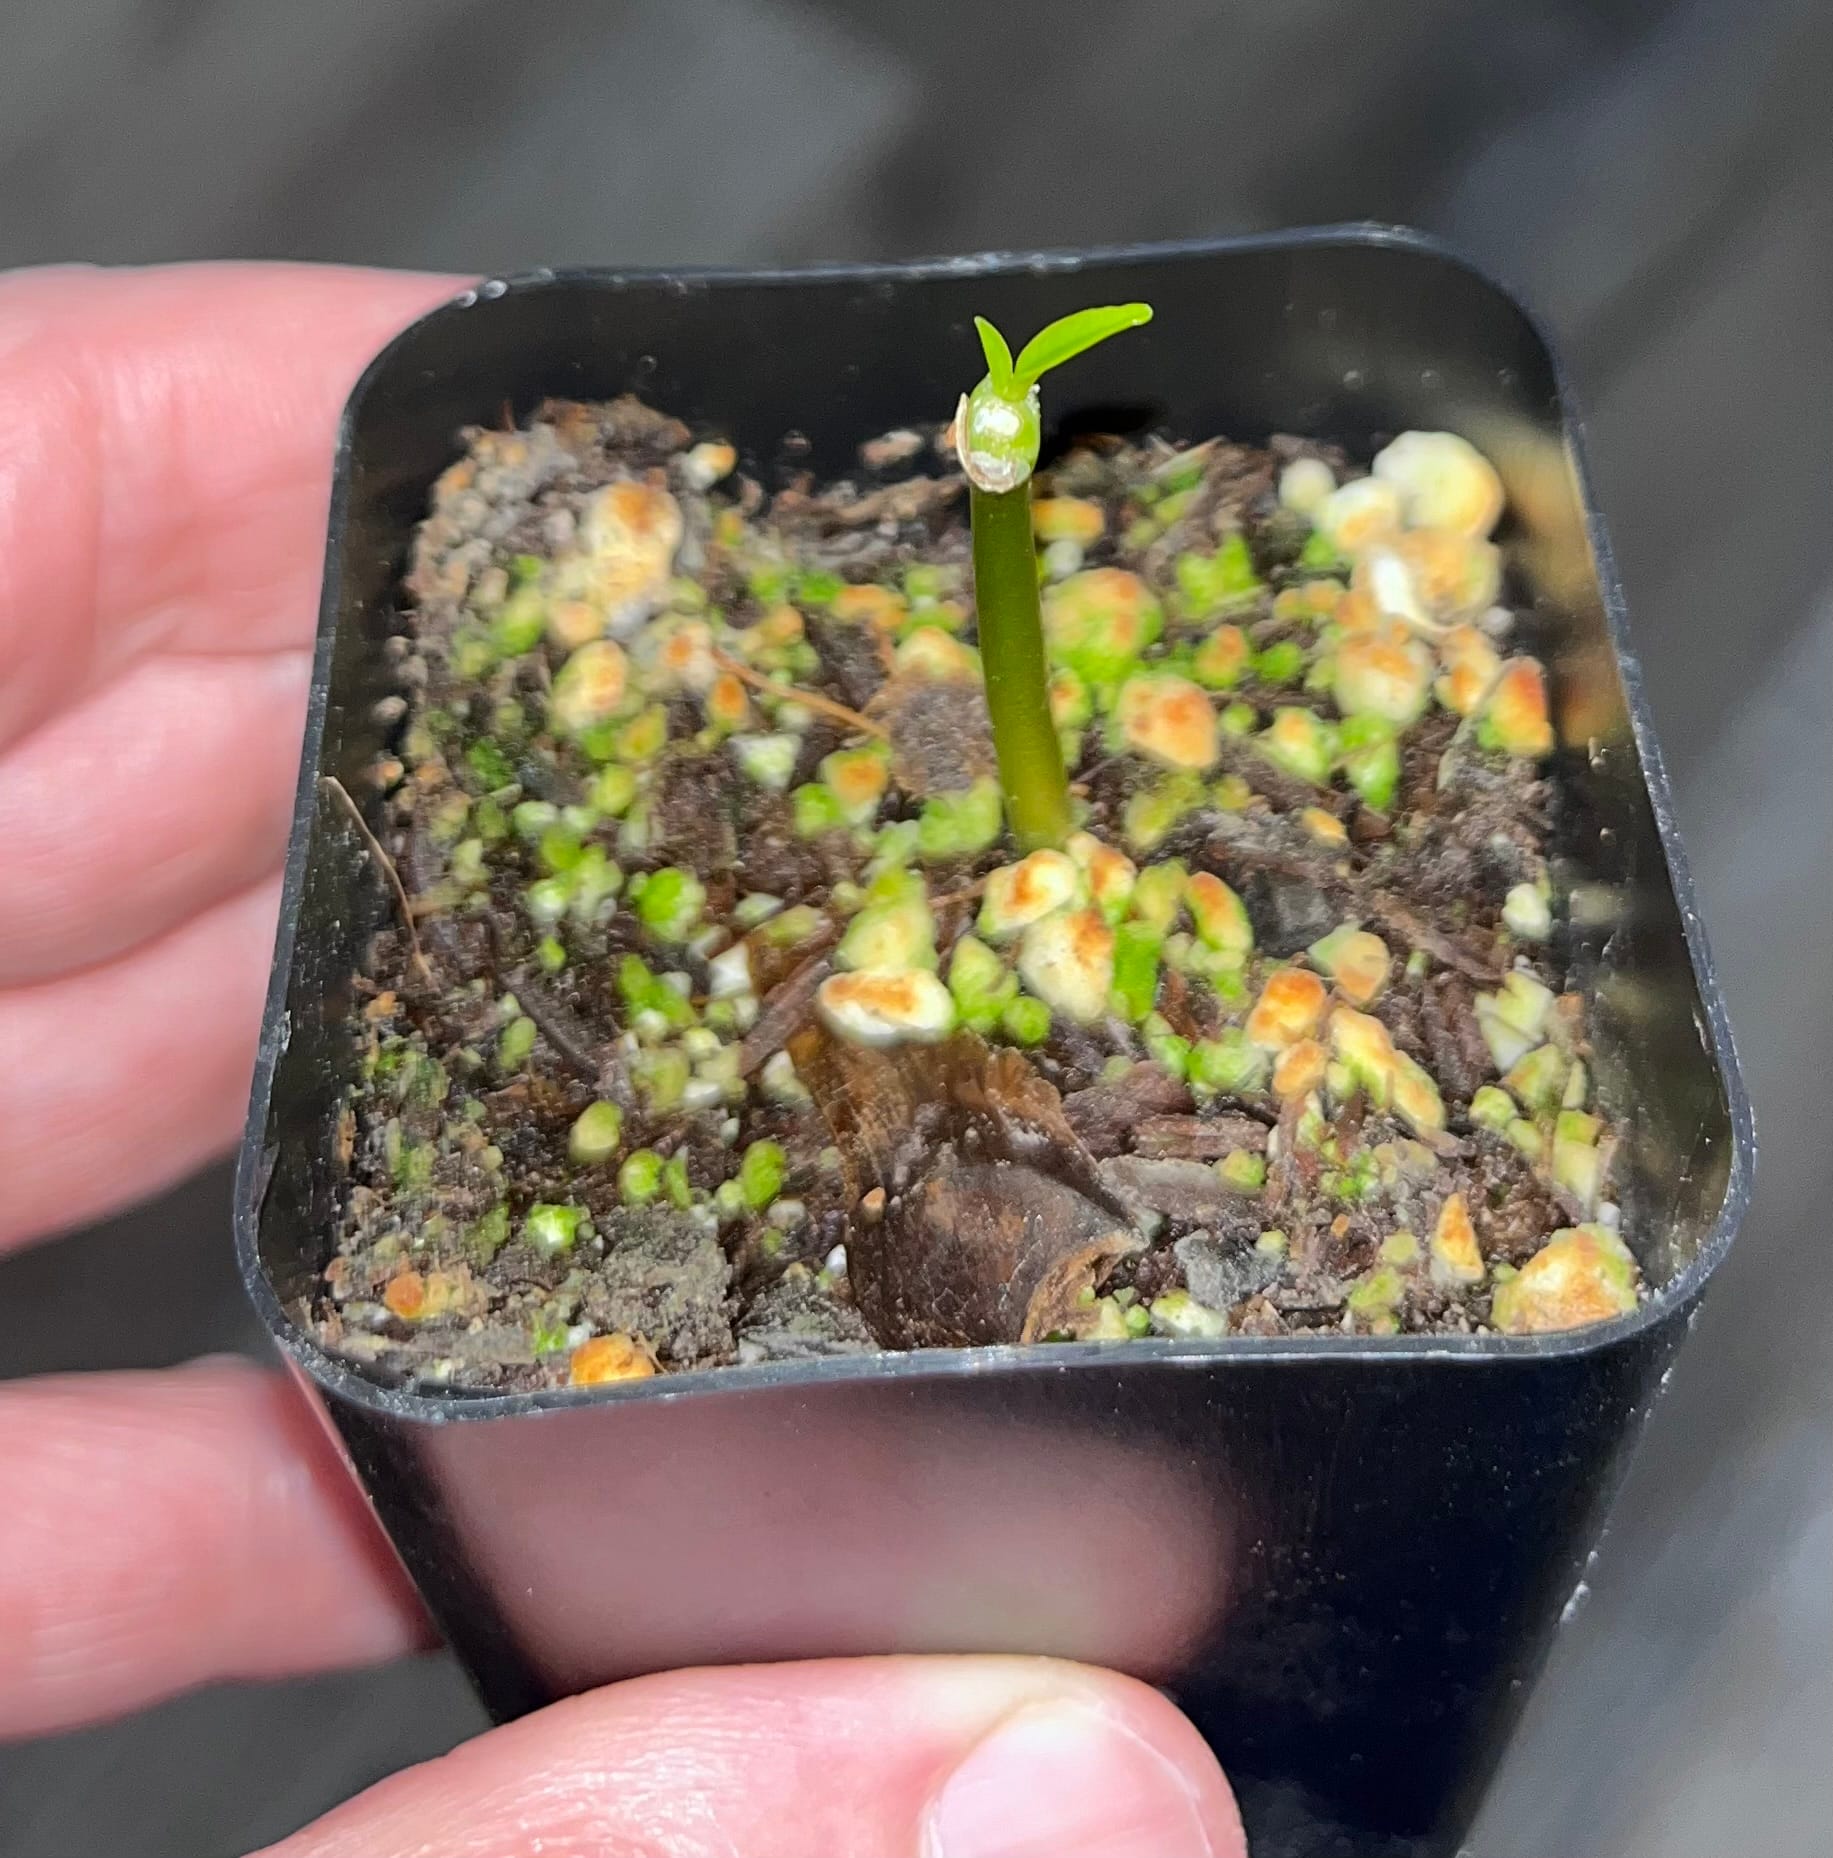
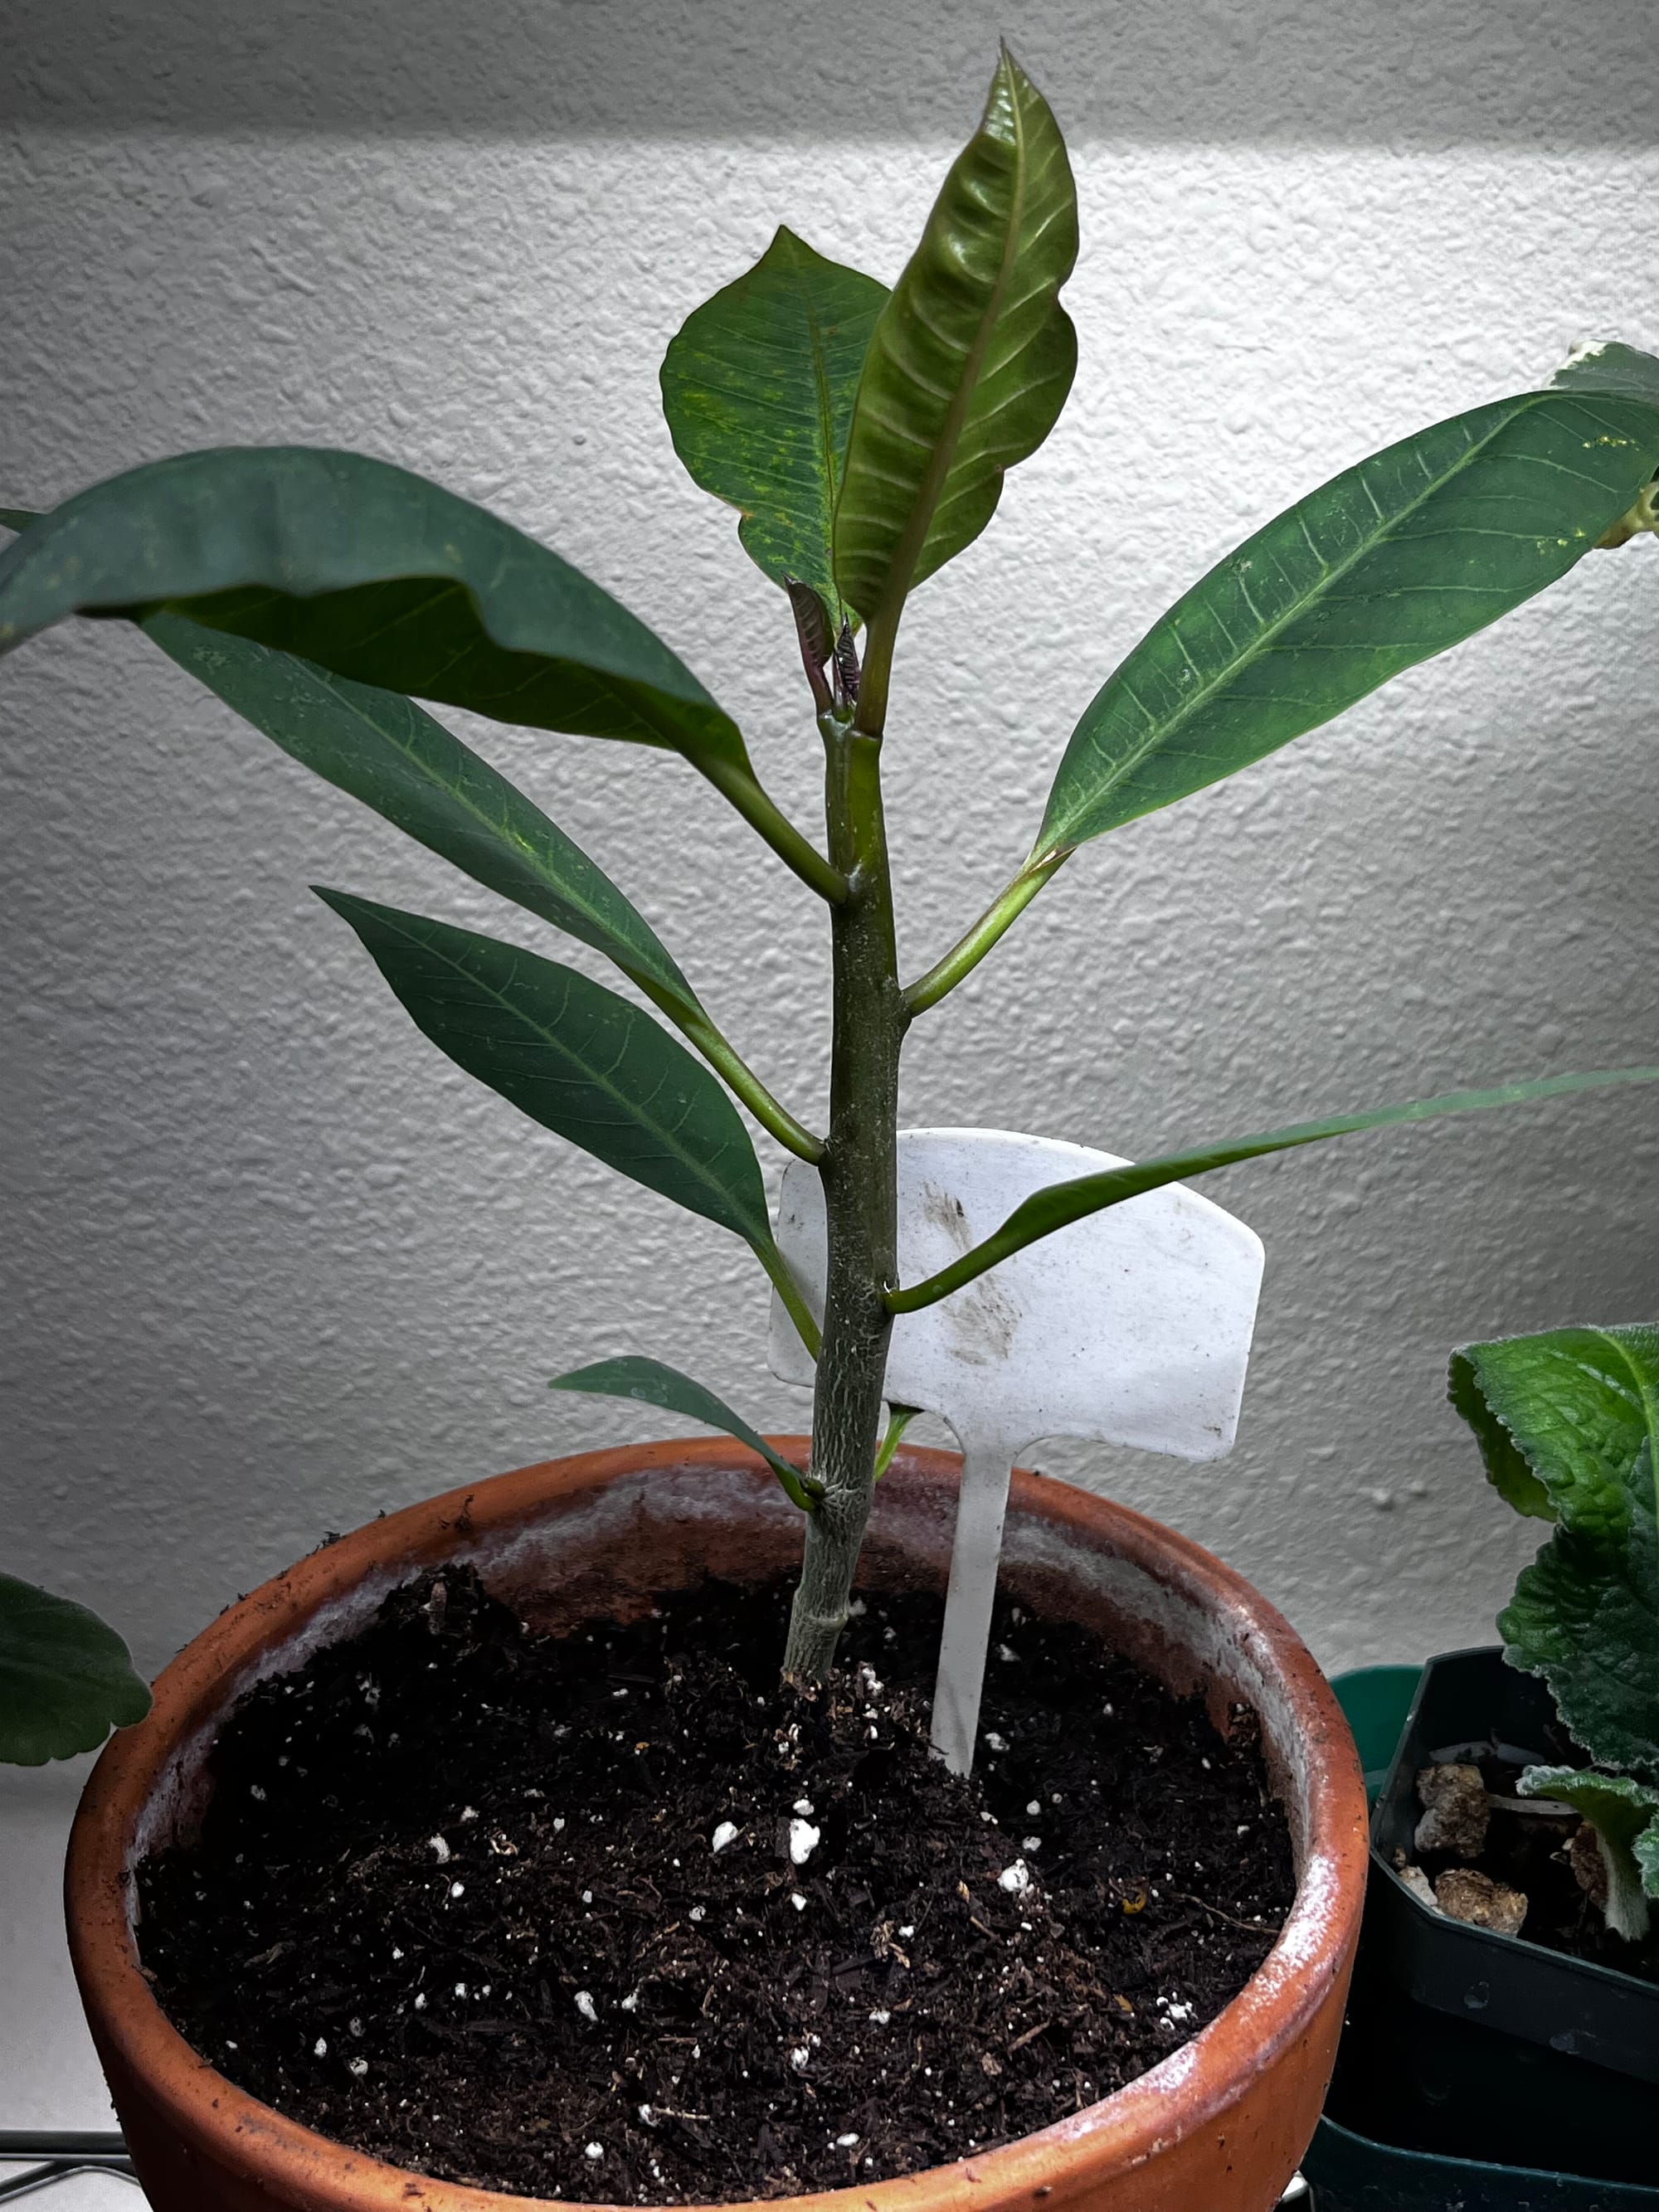
Below you can see plumeria seeds, plumeria sprouts and young plumeria plants. Along with one plumeria seedling that I accidentally removed the initial sprouts that grew back.
Plumeria seeds
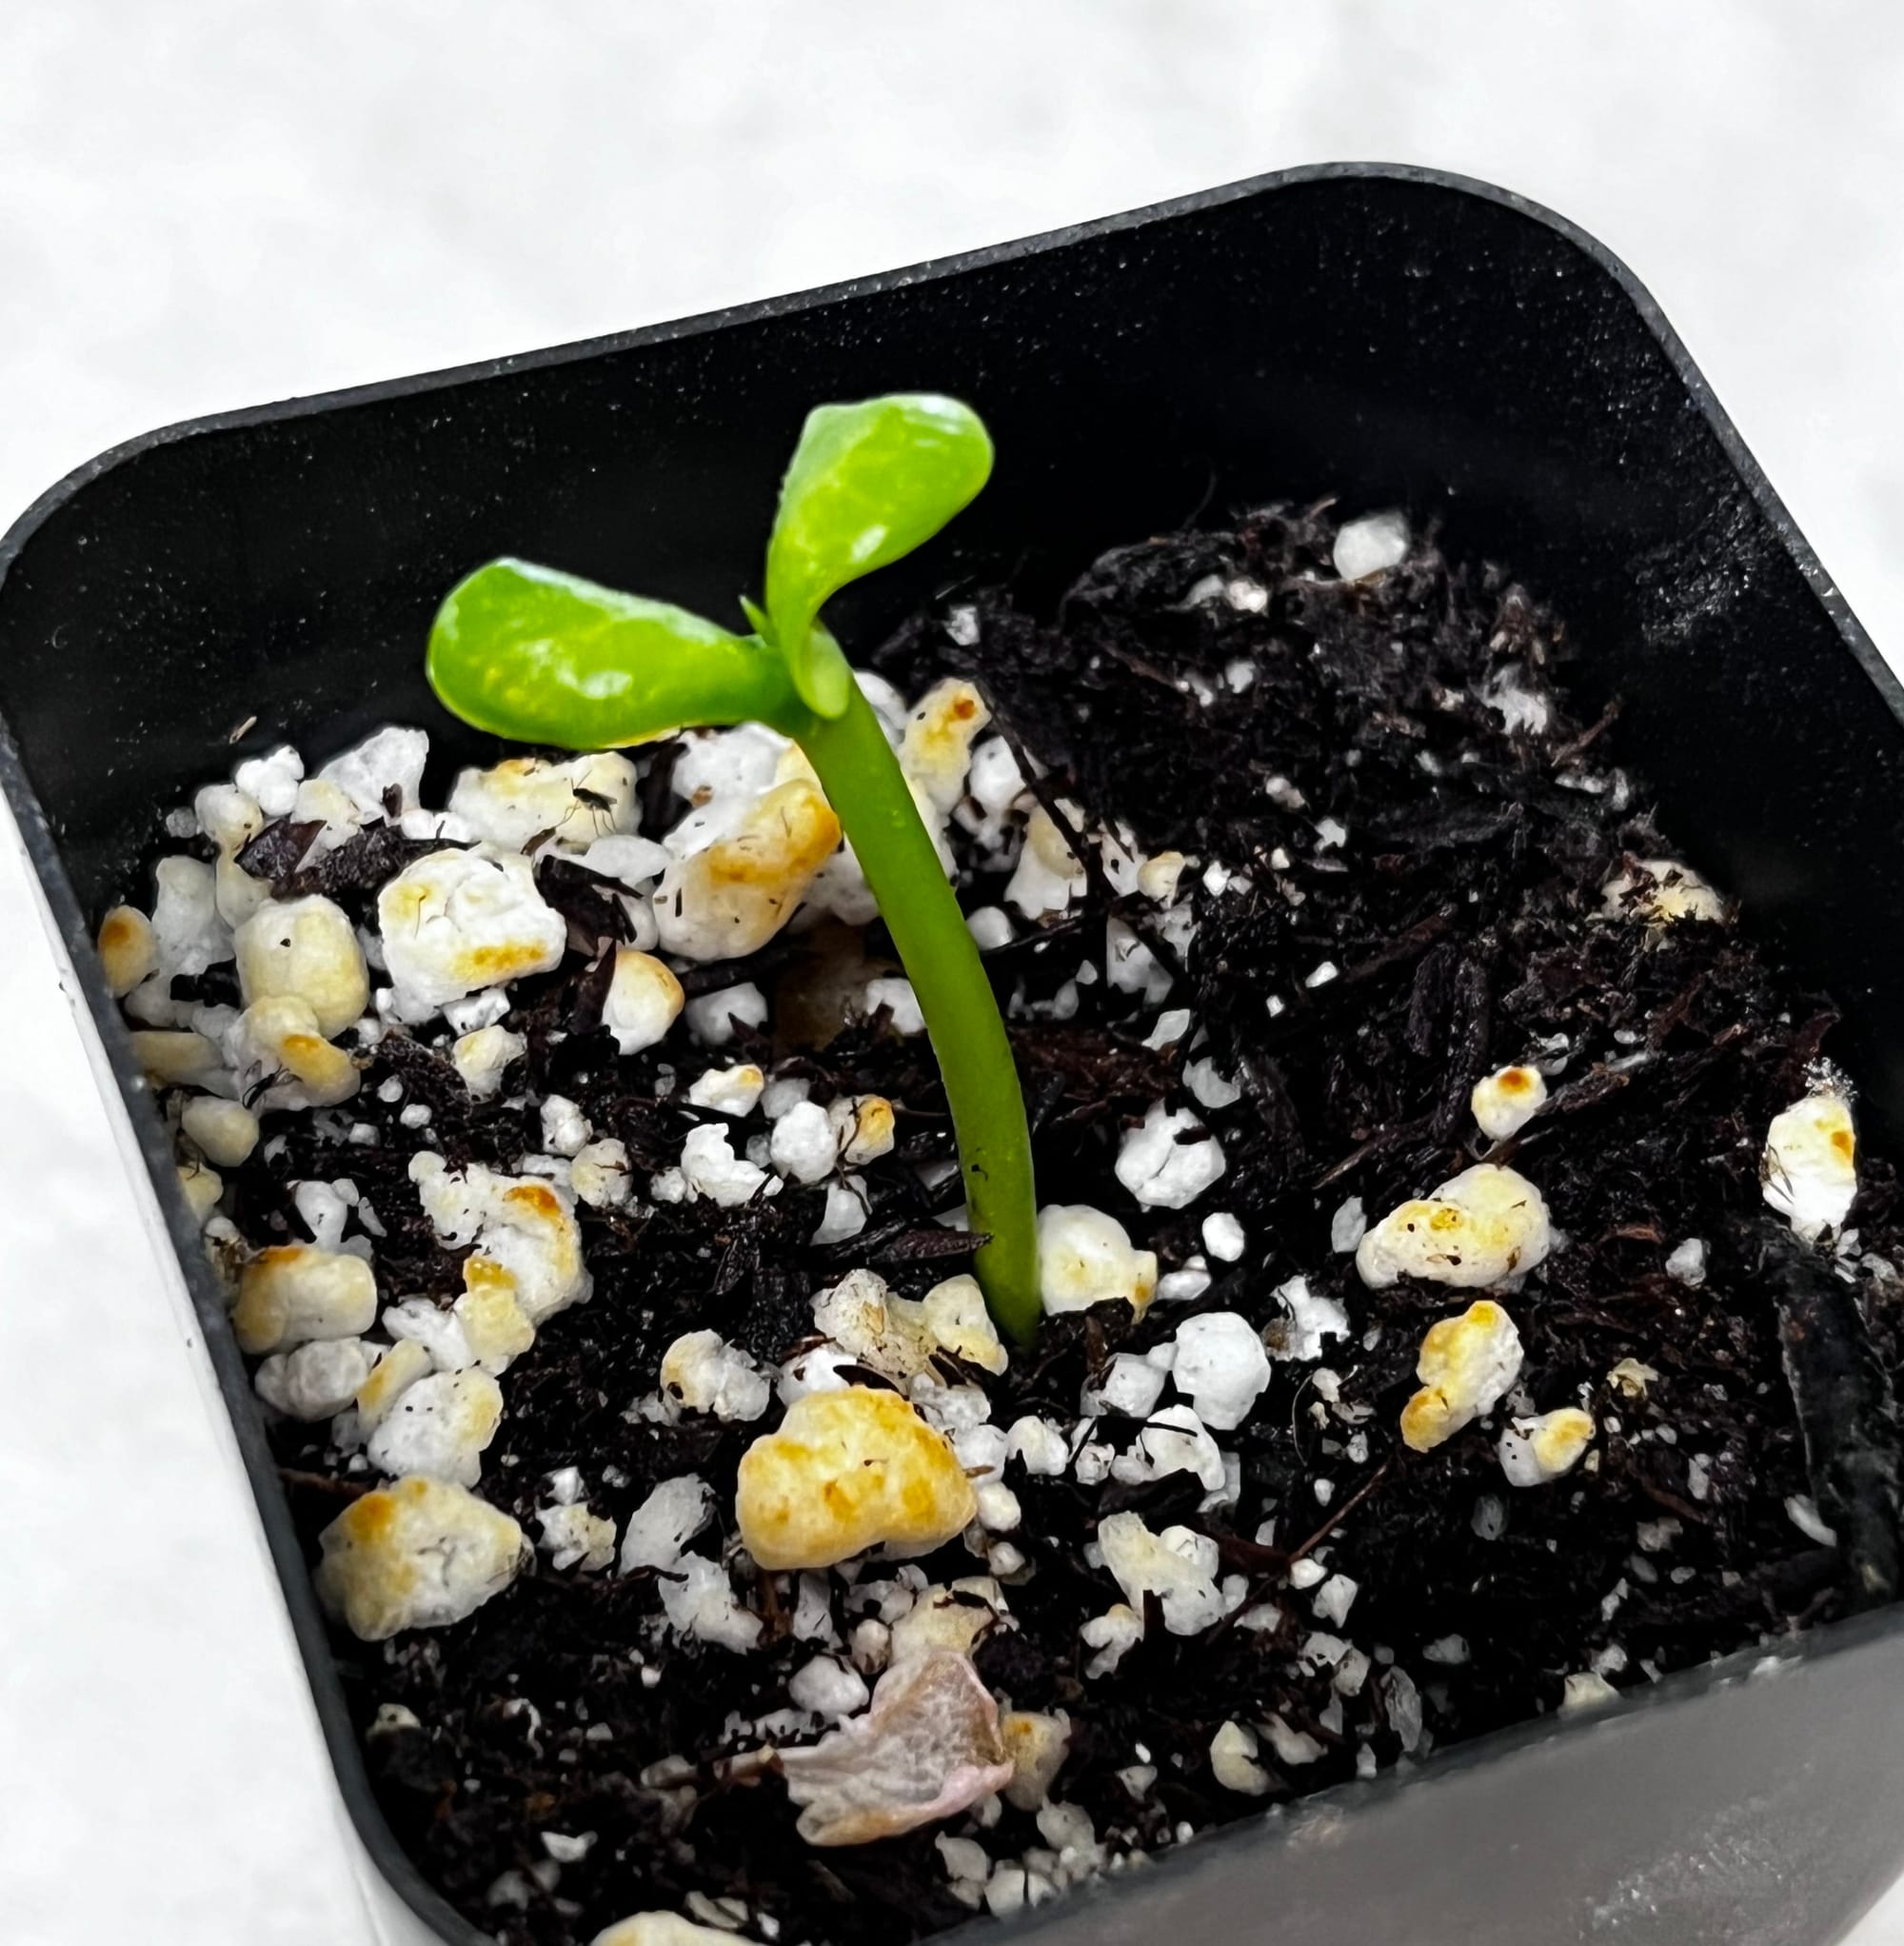
I ended up buying some seeds after looking through an online plumeria shop. Once the seeds arrived, I placed them in a baggie and a moist, but not sopping wet, folded paper towel. About 1 - 2 weeks later, the seeds began to germinate. As soon as I saw a rootling appear, I moved them to their own pot of soil. Then the plants put up a sprout in a couple days.
One problem I noticed is that the seed casings, which are like little pieces of brown crepe paper, can remain clamped on to the developing baby leaves. So you need to be very careful when removing those to expose the seeds. In one case, I accidentally removed the initial leaves with the casing, leaving a green stick. Normally if that happens with a seedling, it can spell disaster. But I know these are regularly grown from "sticks" of plumeria, so I thought I would see if despite losing its starter leaves, it might redevelop leaves. It was a long shot, but it worked. A small point emerged from the top of the sticklet, and then opened up as two tiny new leaves. I had 100% germination from these seeds. Currently, they are being grown under shop lights with my pelargoniums and streptocarpus plants.
I was actually kind of surprised they did so well indoors under basic shop lights and how quickly they went from seed to small plants. I'll continue to monitor them and see if they are able to bloom under the lights, or if they just develop as plants that will need to be taken outside next spring in order to bloom. You'll have to revisit this website in a couple months to see what kinds of flowers I got from my plumeria seeds. I don't think I'll be as picky with plumeria as I can be with other flowering plants.
If you have gotten a "stick" and want to plant it, or want to make a stick cutting, here's how.
Taking Plumeria Cuttings
- Select a Healthy Plant: Choose a mature, sturdy plumeria branch that's 8 - 12 inches long and healthy.
- Prepare Your Tools: Use sharp, clean pruning shears sterilized with rubbing alcohol to avoid introducing bacteria, fungus, or viruses.
- Make the Cut: Cut the branch at a 45-degree angle. Allow the cutting to sit on a piece of newspaper or cardboard for about an hour to stop the sap from draining. Then, let it sit in a dry, shaded area until a callus forms over the cut end, which may take 1 - 3 weeks.
Planting Your Cutting
- Prepare the Soil: Plumeria cuttings thrive in a well-draining soil mix. Combine cactus mix with perlite in a 2:1 ratio to prevent root rot.
- Choose the Right Pot: Use a pot with good drainage, such as terracotta. Fill it with the soil mix and plant the cutting about 3 inches deep, ensuring it stands upright.
- Watering: Water sparingly until roots develop. Overwatering can lead to root rot.
Caring for Your Plumeria
- Sunlight: Place the pot in a sunny spot where it receives 6 - 8 hours of sunlight daily.
- Fertilizing: During the growing season (spring and summer), feed your plumeria a high-phosphorus fertilizer every two weeks.
- Watering Schedule: Once established, water deeply but infrequently, allowing the soil to dry out between waterings.
- Winter Care: In cooler climates, reduce watering and bring the plant indoors during winter dormancy.
Common Issues
- Root Rot: Avoid overwatering and ensure proper soil drainage.
- Pests: Watch for aphids, spider mites, and mealybugs.
- Sunburn: If leaves become scorched, provide shade during the hottest part of the day.
Final Thoughts
Growing plumeria from cuttings and nurturing them into blooming plants is a rewarding process. With proper care, your garden will soon be adorned with these stunning, fragrant flowers, bringing a touch of the tropics to your home.
© Copyright Terry Aley
The Aley Acres seed shop on Etsy.
Dahlias, Notes from a Gardener book on Amazon.
Floral Art and Landscape Painting Etsy shop.
TikTok, some gardening posts.